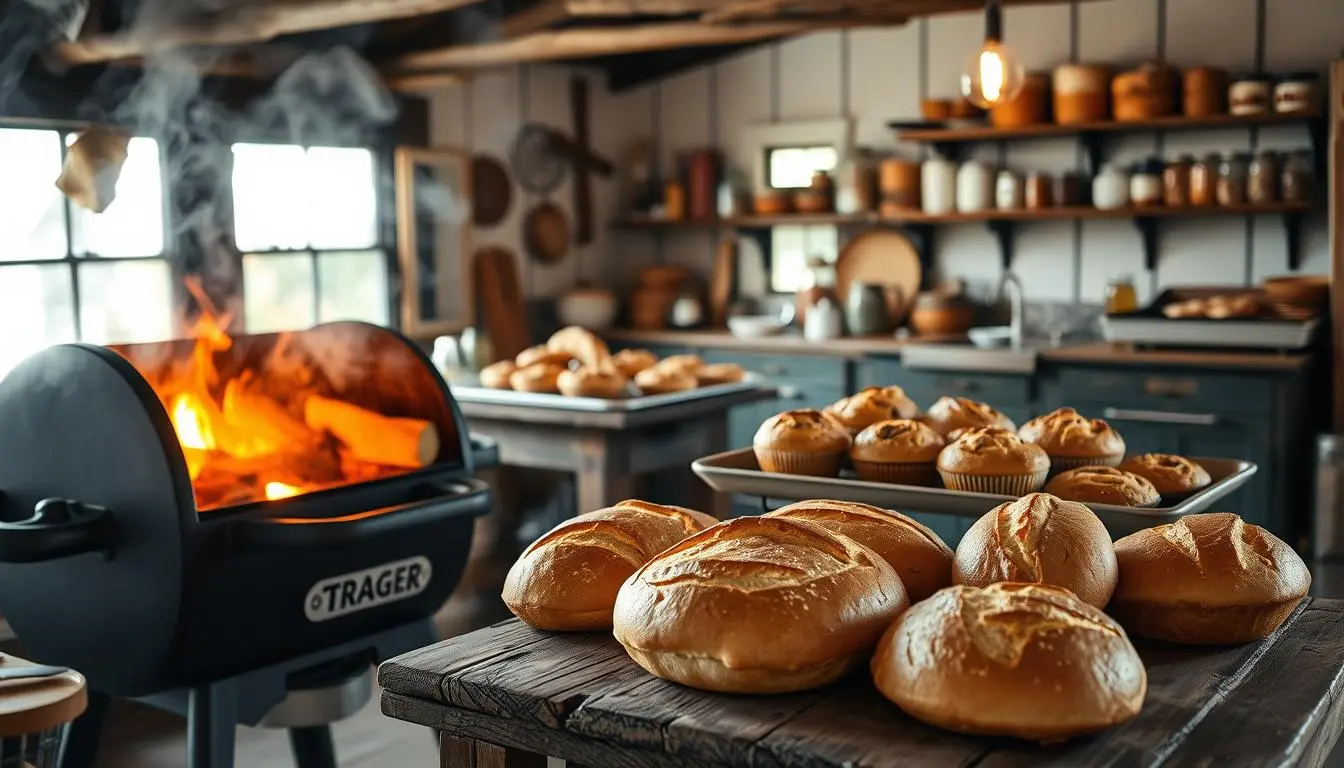
Introduction: Step Back in Time with an Authentic 18th-Century Queen’s Cake
Have you ever wished you could experience the flavors of the past? Imagine sitting in a grand 18th-century parlor, sipping tea while indulging in a rich, fragrant Queen’s Cake. This historic delicacy, once reserved for noble gatherings, was a staple in English and colonial American homes. With its buttery texture, subtle spice, and bursts of dried fruit, it’s a treat that has stood the test of time. In this guide, you’ll learn how to recreate this centuries-old masterpiece using traditional methods while also exploring modern adaptations to suit contemporary kitchens.
Ingredients: Gather Your Essentials
Before you embark on this historical baking journey, make sure you have all the necessary ingredients. Using high-quality components will enhance the flavor and authenticity of your Queen’s Cake.
Traditional Ingredients for Queen’s Cake
- 1 lb (4 cups) all-purpose flour – the foundation of the cake
- 1 lb (2 cups) unsalted butter – for a rich, tender texture
- 1 lb (2 cups) fine sugar – traditional sweetener of the era
- 10 eggs – binding agent and moisture provider
- 1/2 cup currants – a signature ingredient for added sweetness and texture
- 1/2 cup candied citrus peel (orange or lemon) – enhances the aroma
- 1 tsp ground nutmeg – imparts warmth and depth
- 1 tsp ground cinnamon – complements the nutmeg with a hint of spice
- 1 tbsp rosewater or orange blossom water – authentic flavor enhancer
- 1 tsp brandy (optional) – a nod to traditional 18th-century flavoring
- 1/2 tsp salt – balances the sweetness
Modern Adaptations (Optional)
- 1 tsp baking powder – for a lighter, fluffier texture
- 1 tsp vanilla extract – an alternative to rosewater for those who prefer a subtler taste
Step-by-Step Instructions: Bringing the Recipe to Life
1. Preparing the Ingredients
Before you begin, make sure everything is at room temperature. This allows the ingredients to blend smoothly, resulting in a better texture.
- Preheat your oven to 350°F (175°C).
- Grease and line a cake tin with parchment paper.
- Sift the flour together with the salt and spices to ensure even distribution.
- Lightly beat the eggs in a separate bowl to make them easier to incorporate.
2. Creaming the Butter and Sugar
One of the secrets to a perfect Queen’s Cake is the creaming method, which ensures a light and airy texture.
- Use a hand mixer or a sturdy wooden spoon to cream the butter and sugar together until pale and fluffy.
- Gradually add the beaten eggs, mixing well between each addition to prevent curdling.
3. Combining the Ingredients
This step is where the magic happens as all the elements come together to form a perfectly balanced batter.
- Gently fold in the sifted flour mixture to avoid overmixing.
- Stir in the currants, candied peel, rosewater, and brandy until evenly distributed.
4. Baking the Cake
Once your batter is ready, transfer it to the prepared cake tin.
- Smooth the top with a spatula for even baking.
- Bake for 50–60 minutes, or until a skewer inserted into the center comes out clean.
- Allow the cake to cool completely before slicing to retain its structure and moisture.
Serving and Storage Tips: Making the Most of Your Queen’s Cake
How to Serve Queen’s Cake
- Serve with a cup of strong black tea for a traditional experience.
- Dust with powdered sugar or a light honey glaze for extra sweetness.
- Pair with clotted cream or fresh fruit for a more indulgent treat.
Storage Tips
- Room Temperature: Store in an airtight container for up to 5 days.
- Refrigeration: Keeps fresh for up to 10 days when wrapped properly.
- Freezing: Slice and freeze for up to 3 months—just thaw before serving.
The History Behind Queen’s Cake: A Culinary Legacy
Queen’s Cake is not just a dessert; it’s a story of tradition, celebration, and heritage.
- 18th-century origins: This cake was a favorite in British and colonial American households, often served during social gatherings and special occasions.
- Significance: With its rich butter and sugar content, Queen’s Cake symbolized prosperity, as these ingredients were once considered luxury items.
- Evolution: While the traditional recipe remains beloved, modern adaptations allow for variations in texture and flavor.
Frequently Asked Questions (FAQs)
1. What is an 18th-century Queen’s Cake?
Queen’s Cake is a historic English dessert made from butter, sugar, eggs, flour, and spices, often enriched with dried fruits and flavored with rosewater or brandy.
2. Can I substitute ingredients for dietary preferences?
Absolutely! You can replace:
- Butter with dairy-free alternatives like coconut oil.
- Flour with gluten-free options such as almond flour.
- Sugar with honey or maple syrup for a refined sugar-free version.
3. Why is it called Queen’s Cake?
The name likely originates from cakes prepared for royalty or noble gatherings, emphasizing refinement and high-quality ingredients.
4. Can I make Queen’s Cake without alcohol?
Yes! Simply omit the brandy or replace it with extra rosewater or vanilla extract.
5. What’s the best way to store Queen’s Cake?
Keep it in an airtight container at room temperature for up to 5 days, or refrigerate for extended freshness.
Conclusion: A Cake Fit for Royalty
Baking an 18th-century Queen’s Cake is more than just following a recipe—it’s a way to connect with history. With its warm spices, tender crumb, and delightful bursts of fruit, this cake is a perfect blend of tradition and indulgence. Whether you’re recreating it for a historical event, a special tea party, or simply to enjoy a slice of the past, this recipe ensures an authentic and delicious experience.
Your Turn to Bake!
Now that you have everything you need to make this historical masterpiece, why not try it yourself? Share your results, experiment with flavors, and keep this cherished tradition alive!