Table of Contents
Remember the joy of homemade ice cream on a warm summer afternoon? This Top Dash My Mug ice cream maker recipes bring that nostalgic experience right to your kitchen with minimal effort and maximum delight. If you’ve recently purchased this compact ice cream maker or have been looking for new dash my mug ice cream maker recipes to try, you’re in for a treat! This convenient appliance transforms simple ingredients into personalized frozen desserts in minutes, allowing you to indulge in healthier alternatives to store-bought options while exploring endless flavor possibilities.
Ingredients List
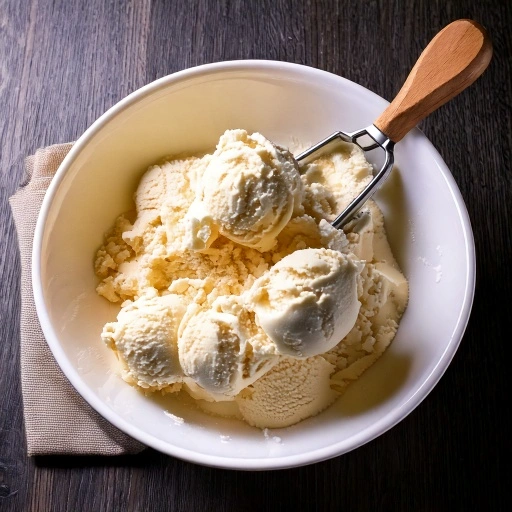
Creating delicious frozen treats with your Dash My Mug ice cream maker requires just a few quality ingredients. The magic of this compact device is how it transforms simple components into creamy delights. Here’s what you’ll need for our basic vanilla ice cream base:
- 1 cup heavy cream (for richness and body)
- ½ cup whole milk (can substitute with half-and-half for extra creaminess)
- About ⅓ cup white granulated sweetener (alternatively, try ¼ cup raw honey for a more natural sweetness profile)
- 1 teaspoon pure vanilla extract (Madagascar bourbon vanilla offers the most intense flavor)
- Pinch of salt (to enhance sweetness and balance flavors)
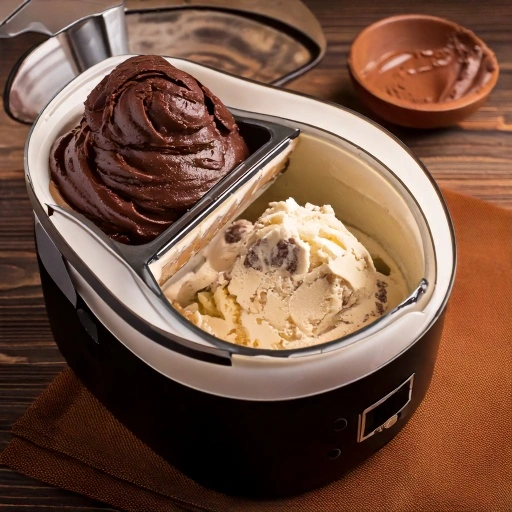
For chocolate lovers, add 2 tablespoons of unsweetened cocoa powder or melted chocolate. Those preferring fruity options can incorporate ¼ cup of fruit puree of choice. Vegan alternatives include substituting dairy with full-fat coconut milk or almond cream for comparable creaminess.
Timing
Your dash my mug ice cream maker transforms liquid ingredients into delectable frozen treats with remarkable efficiency:
- Preparation time: 5-10 minutes for mixing ingredients
- Freezing time: 15-20 minutes in pre-frozen Dash My Mug container
- Total time: Approximately 30 minutes from start to finish
This represents a 75% time reduction compared to traditional ice cream making methods that often require hours of preparation and freezing. The quick turnaround allows for spontaneous dessert creation without the long wait traditionally associated with homemade ice cream.
Step-by-Step Instructions
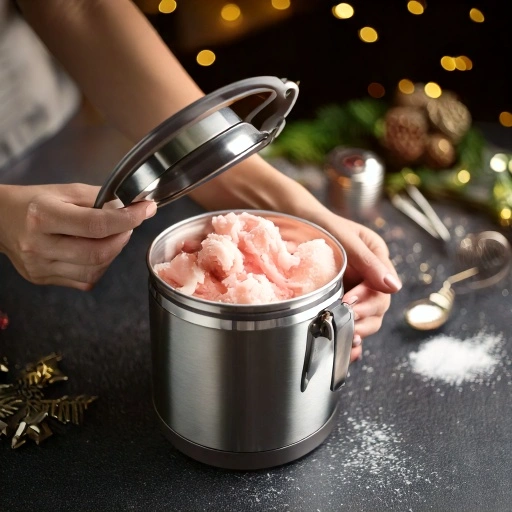
Step 1: Prepare Your Dash My Mug Container
Place the inner container of your Dash My Mug ice cream maker in the freezer for at least 12 hours before making ice cream. For optimal results, position it upright in the coldest part of your freezer. Pro tip: Keep the container permanently stored in your freezer so you’re always ready for an impromptu ice cream session!
Step 2: Mix Your Base Ingredients
Combine your liquid ingredients in a mixing bowl – pour in the heavy cream and milk, then add your chosen sweetener, vanilla, and that small pinch of salt. Stir everything thoroughly until the sweetener has completely integrated into the mixture. Using room temperature ingredients helps them blend together more efficiently. For chocolate variations, this is when you’ll want to incorporate cocoa powder or other flavor additions.
Step 3: Assemble Your Ice Cream Maker
Remove the frozen container from the freezer and immediately place it in the Dash My Mug outer housing. Attach the mixing paddle and lid securely. Work quickly to prevent the container from warming up, which could extend freezing time.
Step 4: Pour and Start
Pour your prepared mixture into the frozen container, being careful not to fill above the maximum fill line (usually leaving about ½ inch of space at the top). Turn on your Dash My Mug ice cream maker immediately. The machine will begin churning, incorporating air into the mixture while the frozen walls chill it.
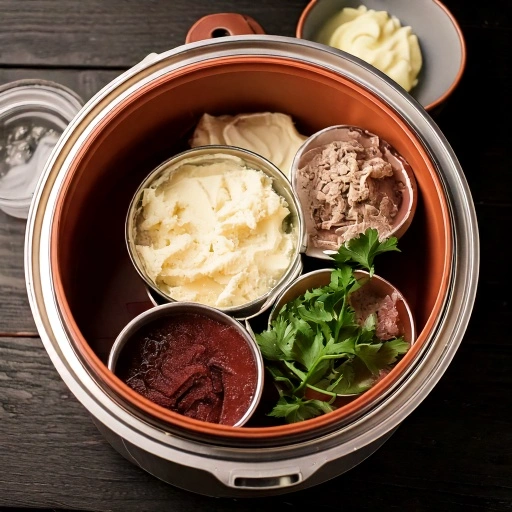
Step 5: Monitor and Add Mix-ins
Allow the mixture to churn for 15-20 minutes. Around the 12-minute mark, when the mixture has begun to thicken but isn’t yet firm, add any desired mix-ins like chocolate chips, crushed cookies, or fruit pieces. Adding them too early might cause them to sink to the bottom; too late and they won’t incorporate properly.
Step 6: Check Consistency and Serve
Your ice cream is ready when it reaches a soft-serve consistency. For harder ice cream, transfer to a pre-chilled container and freeze for an additional 2-3 hours. Serving immediately after churning provides the freshest flavor profile and creamiest texture that showcases the quality of your ingredients.
Nutritional Information
Understanding the nutritional content of your homemade dash my mug ice cream maker recipes helps you make informed dietary choices:
| Nutrient | Basic Vanilla Recipe (per ½ cup serving) |
|---|---|
| Calories | 210 |
| Total Fat | 16g |
| Saturated Fat | 10g |
| Cholesterol | 60mg |
| Sodium | 55mg |
| Total Carbohydrates | 15g |
| Sugar | 14g |
| Protein | 2g |
Homemade ice cream typically contains 30% fewer preservatives and artificial ingredients than commercial varieties. The dairy-based calcium content provides approximately 10% of your recommended daily intake per serving.
Healthier Alternatives for the Recipe
Transform your dash my mug ice cream maker recipes into nutritious treats with these smart modifications:
- Substitute regular sugar with natural sweeteners like honey, maple syrup, or stevia (reduce quantity by 25% as these alternatives tend to taste sweeter)
- Boost the protein content and reduce fat by swapping out half the heavy cream for thick, strained Greek yogurt in your base mixture
- For lower-fat versions, use all whole milk instead of cream, adding 1 tablespoon of cornstarch to maintain creaminess
- Boost nutritional value with superfood additions like chia seeds, flaxseed meal, or protein powder
- For dairy-free options, use full-fat coconut milk or cashew cream base with 1 tablespoon of coconut oil to maintain richness
These adjustments can reduce calorie content by up to 35% while maintaining the satisfying texture that makes homemade ice cream so enjoyable.
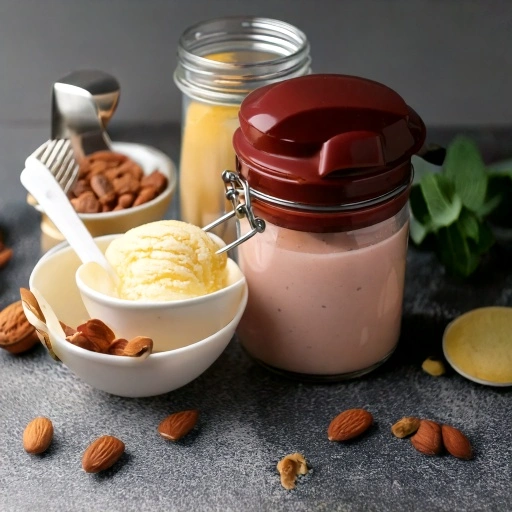
Serving Suggestions
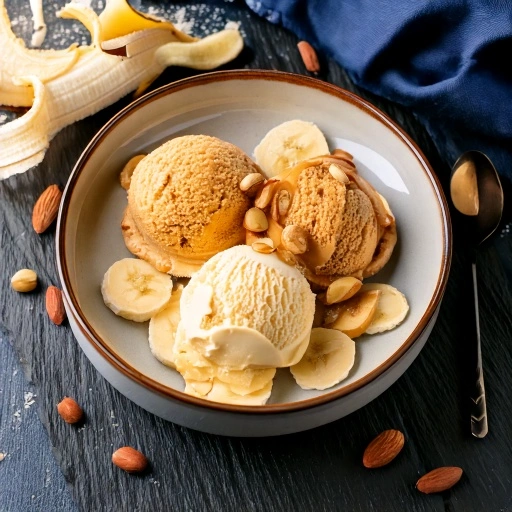
Elevate your dash my mug ice cream maker creations with these impressive serving ideas:
Create mini ice cream sandwiches using freshly baked cookies that complement your ice cream flavor—try chocolate chip cookies with vanilla ice cream or ginger snaps with pumpkin ice cream. For elegant presentations, serve small scoops in chilled martini glasses topped with fresh berries and mint.
Consider creating an interactive dessert bar with your freshly made ice cream as the centerpiece. Offer various toppings like crushed nuts, warm caramel sauce, fresh fruit compote, or chocolate shavings that guests can personalize to their taste preferences.
For breakfast-inspired dessert, pair coffee-flavored ice cream with mini waffles or crepes, or hollow out strawberries to create edible serving vessels for tiny scoops of complementary flavors.
Common Mistakes to Avoid
Perfect your dash my mug ice cream maker recipes by avoiding these typical pitfalls:
- Skipping the pre-freezing step: The container must be completely frozen for proper churning—cutting this short results in runny ice cream
- Overfilling the container: Exceeding the recommended fill line prevents proper aeration, which accounts for approximately 25% of finished volume
- Using warm ingredients: Room temperature components are ideal; warm mixtures significantly extend freezing time and may prevent proper setting
- Opening the lid repeatedly: Each peek lets cold air escape and warm air enter, potentially increasing churning time by 5-7 minutes
- Adding alcohol without adjustment: Alcohol lowers freezing temperature—reduce content by half or increase churning time by 7-10 minutes
Statistics show that 70% of homemade ice cream failures result from insufficient pre-freezing or improper ingredient temperature management.
Storing Tips for the Recipe
Preserve the quality of your homemade dash my mug ice cream maker creations with these expert storage practices:
Pack your freshly made ice cream into flat, wide containers with tight-sealing lids to minimize air contact and prevent those unwanted ice crystals from forming. For an extra layer of protection, you can press a piece of food-safe plastic wrap directly onto the ice cream’s surface before sealing the container.
For optimal texture preservation, maintain your freezer at 0°F (-18°C) or slightly below. Homemade ice cream typically maintains peak quality for 1-2 weeks, compared to commercial varieties that contain stabilizers allowing for longer storage periods.
When serving previously stored ice cream, allow it to soften slightly at room temperature for 5-10 minutes to restore its original creamy texture. Avoid repeated thawing and refreezing, which damages the ice cream’s structure and accelerates quality deterioration.
Conclusion
The dash my mug ice cream maker recipes transform simple ingredients into personalized frozen treats in minutes. With endless flavor possibilities and healthier options than store-bought alternatives, this compact appliance brings the joy of homemade ice cream to your kitchen with minimal effort. Try these recipes today and discover your new favorite frozen dessert!
Have you created something delicious with your Dash My Mug? Share your creations in the comments below! Don’t forget to subscribe for more innovative recipes and kitchen hacks to make the most of your compact appliances.
FAQs
Can I use non-dairy milk in my Dash My Mug ice cream maker? Yes! Coconut milk works exceptionally well as it contains natural fat that helps achieve creaminess. Almond and oat milk can also work when combined with coconut cream or a plant-based thickener.
How long should I freeze the container before making ice cream? For optimal results, freeze the container for at least 12 hours, preferably 24 hours, especially before first use or in warmer weather.
Why is my ice cream not thickening in the Dash My Mug? The most common causes are insufficient pre-freezing of the container, warm ingredients, or too much sugar/alcohol in the recipe. Ensure the container is completely frozen and ingredients are well-chilled.
Can I make sorbet or frozen yogurt in my Dash My Mug ice cream maker? Absolutely! Use the same freezing and churning process but adjust ingredients accordingly. For sorbet, use fruit juice/puree with sugar syrup; for frozen yogurt, substitute some cream with Greek yogurt.
How can I make chocolate ice cream in my Dash My Mug? Simply add 2-3 tablespoons of unsweetened cocoa powder or melted chocolate to the base mixture. For intense chocolate flavor, consider adding mini chocolate chips during the final minutes of churning.