Table of Contents
Baking your own bread is like creating art. It turns simple ingredients into a delicious treat. The King Arthur bread recipe lets you make artisan bread at home. With top-notch King Arthur flour and a few key techniques, you can become a bread-making pro.
Starting your bread-making journey is easy. You just need to know the basics. This guide will teach you how to pick the right ingredients and knead and proof your dough. You’ll learn how to make a loaf that will wow your loved ones.
Key Takeaways
- Learn the secrets of creating authentic artisan bread
- Understand the importance of high-quality King Arthur flour
- Master essential bread-making techniques
- Discover how to achieve perfect texture and flavor
- Create professional-quality bread at home
Essential Ingredients for King Arthur Bread Recipe
Making the perfect king arthur flour bread begins with knowing the key ingredients. These elements turn simple parts into a tasty loaf. Your bread-making journey starts with picking the right ingredients for a stunning artisan bread.
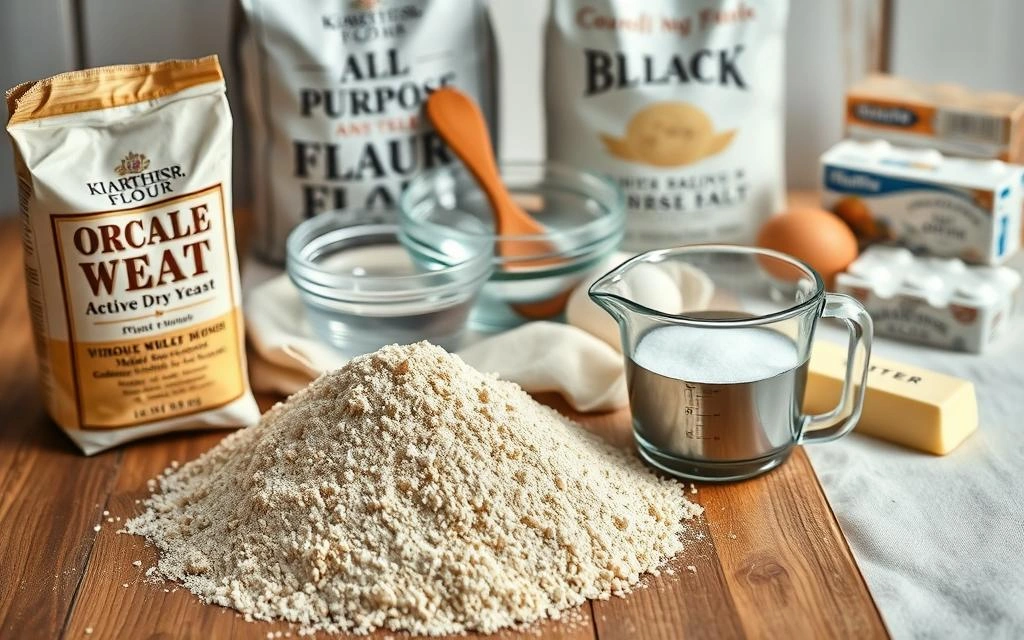
King Arthur baking needs precision and quality ingredients. Let’s look at the basic parts that make your bread stand out:
Understanding Different Types of King Arthur Flour
King Arthur has many flour types for bread making:
- All-Purpose Flour: Versatile and reliable for most bread recipes
- Bread Flour: Higher protein content creates stronger gluten structure
- Whole Wheat Flour: Adds nutty flavor and extra nutrition
- Specialty Flours: Unique blends for specific bread styles
Role of Yeast and Salt in Bread Making
Yeast and salt are key for great bread. Yeast makes dough rise and adds flavor. Salt strengthens gluten and controls yeast, ensuring balanced taste and texture.
Optional Ingredients for Enhanced Flavor
Add these optional ingredients to your king arthur flour bread for extra flavor:
- Fresh herbs
- Roasted garlic
- Dried fruits
- Nuts and seeds
Required Equipment and Tools for Perfect Bread Making
Creating an exceptional artisan bread recipe needs more than just great ingredients. The right equipment can make your home baking better. It helps you get professional-quality results.
When you’re ready to make your artisan bread, you’ll need some key tools. These tools are essential for success:
- Large Mixing Bowls: Choose sturdy, spacious bowls for mixing and kneading dough
- Digital Kitchen Scale: Precise measurements are crucial for consistent bread quality
- Measuring Cups and Spoons: For accurate ingredient portioning
- Dutch Oven or Baking Stone: Creates perfect crust and even heat distribution
- Bench Scraper: Helps handle sticky dough and divide portions
- Proofing Basket: Supports dough shape during rising
Investing in quality tools will improve your artisan bread recipe. A digital kitchen scale lets you measure ingredients precisely. This is key for bread making.
Professional bakers prefer weight measurements over volume. They know it’s more reliable.
Think about using a heavy-duty Dutch oven for baking. These vessels trap steam. They create a crispy, golden crust that’s perfect for artisan bread. Ceramic baking stones are also great for home bakers who want restaurant-quality results.
Step-by-Step Mixing and Kneading Process
Learning to mix and knead is key for a great classic bread. The right steps can turn simple ingredients into a tasty loaf. This will wow even the pickiest bread lovers.
Before you start, Have all your ingredients at room temperature. This helps them mix smoothly and develop well.
Proper Mixing Techniques
First, mix your ingredients in a big bowl. Make a hole in the middle and add the wet ingredients slowly. Use a spoon or spatula to mix until it’s shaggy. This step prevents lumps and spreads the ingredients evenly.
- Start with gentle stirring
- Gradually incorporate all ingredients
- Avoid overmixing at early stages
Signs of Well-Developed Dough
A well-kneaded dough is smooth, elastic, and bounces back when pressed. The “windowpane test” is a good way to check. Stretch a small dough piece. If it’s thin enough to see through without breaking, it’s ready.
First Rise and Dough Development
The first rise, or bulk fermentation, is key in your king arthur bread recipe. It turns simple ingredients into a tasty, well-structured loaf. Yeast works its magic, adding complex flavors and improving the bread’s texture.
To get the best first rise, consider a few important factors:
- Temperature: Aim for a warm spot around 75-80°F
- Humidity: Cover the dough with a damp cloth to prevent drying
- Container: Use a lightly oiled bowl that allows room for expansion
Watch for these signs of proper fermentation when using a king arthur bread recipe:
- The dough should roughly double in size
- Small bubbles will form throughout the surface
- When gently pressed, the dough should slowly spring back
The first rise usually takes 1-2 hours. Don’t rush this process. Giving it enough time makes the flavors deeper and the bread structure more complex.
Pro tip: A warm kitchen speeds up fermentation, while a cooler environment slows it down. Use this to control your dough’s development and get consistent results in your king arthur bread recipe.
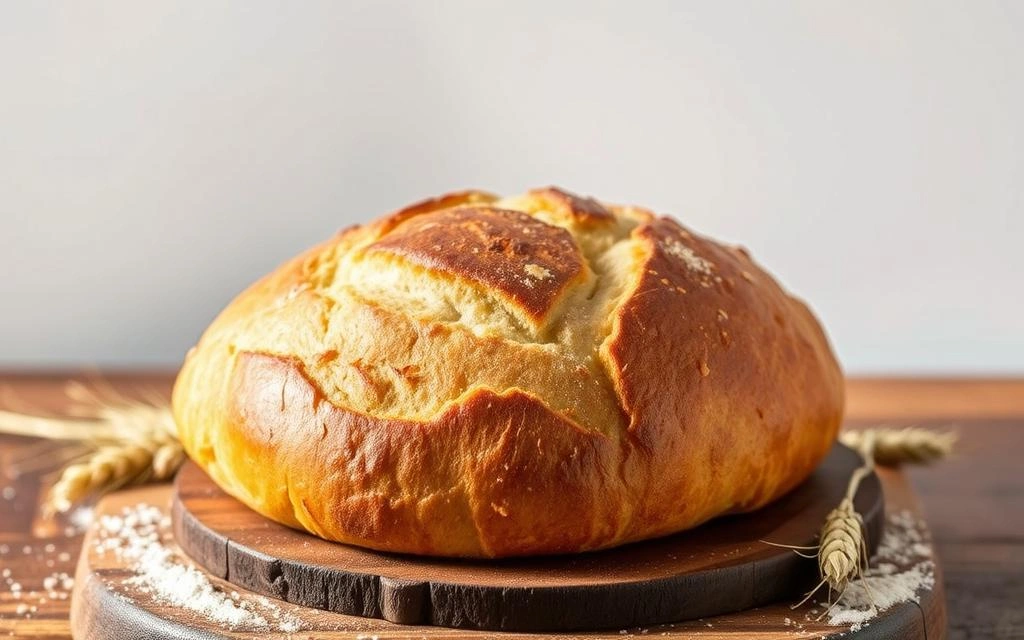
Shaping Your Artisan Bread
Making the perfect homemade bread is more than just mixing ingredients. The shaping process is key to creating a beautiful and tasty artisan bread. It will wow both your eyes and taste buds.
Shaping turns your dough into a stunning loaf. It takes practice and patience to get good at bread making.
Basic Boule Formation
To make a classic boule (round loaf), follow these steps:
- Gently deflate your risen dough
- Fold edges toward the center
- Rotate and create a smooth, tight surface
- Pinch bottom seam to seal
Creating Surface Tension
Surface tension is vital in your artisan bread recipe. It helps your bread keep its shape and get a beautiful crust. Use your hands to gently stretch the dough’s outer layer, making it smooth and tight.
Scoring Patterns and Techniques
Scoring is not just for looks; it helps your bread expand during baking. Use a sharp blade to make precise cuts:
- Basic cross pattern
- Wheat stalk design
- Spiral scoring
- Single diagonal slash
Each scoring technique adds its own charm to your homemade bread. It turns a simple loaf into a culinary masterpiece.
Second Rise and Proofing Tips
The second rise, or proofing stage, is a key moment in your baking journey. It turns your bread dough into a light, airy masterpiece. Knowing how to proof your dough can make your bread truly special.
During proofing, yeast works its magic, adding complex flavors and a delicate texture. King Arthur baking experts say to create the perfect environment for this step.
- Choose a warm, draft-free area around 75-80°F
- Cover your dough with a damp cloth to prevent skin formation
- Allow sufficient time for the dough to double in size
You can check if your dough is ready with the poke test. Gently press your finger into the dough. If the indentation stays and slowly springs back, it’s proofed and ready to bake.
Being patient is crucial in baking. Rushing the proofing can make your bread dense and flat. Let your dough rise and develop fully.
Baking Methods and Temperature Control
Learning to bake with king arthur flour bread is an art. It’s about turning simple ingredients into a classic bread recipe. The baking stage is where you can make your loaf truly special with the right techniques.
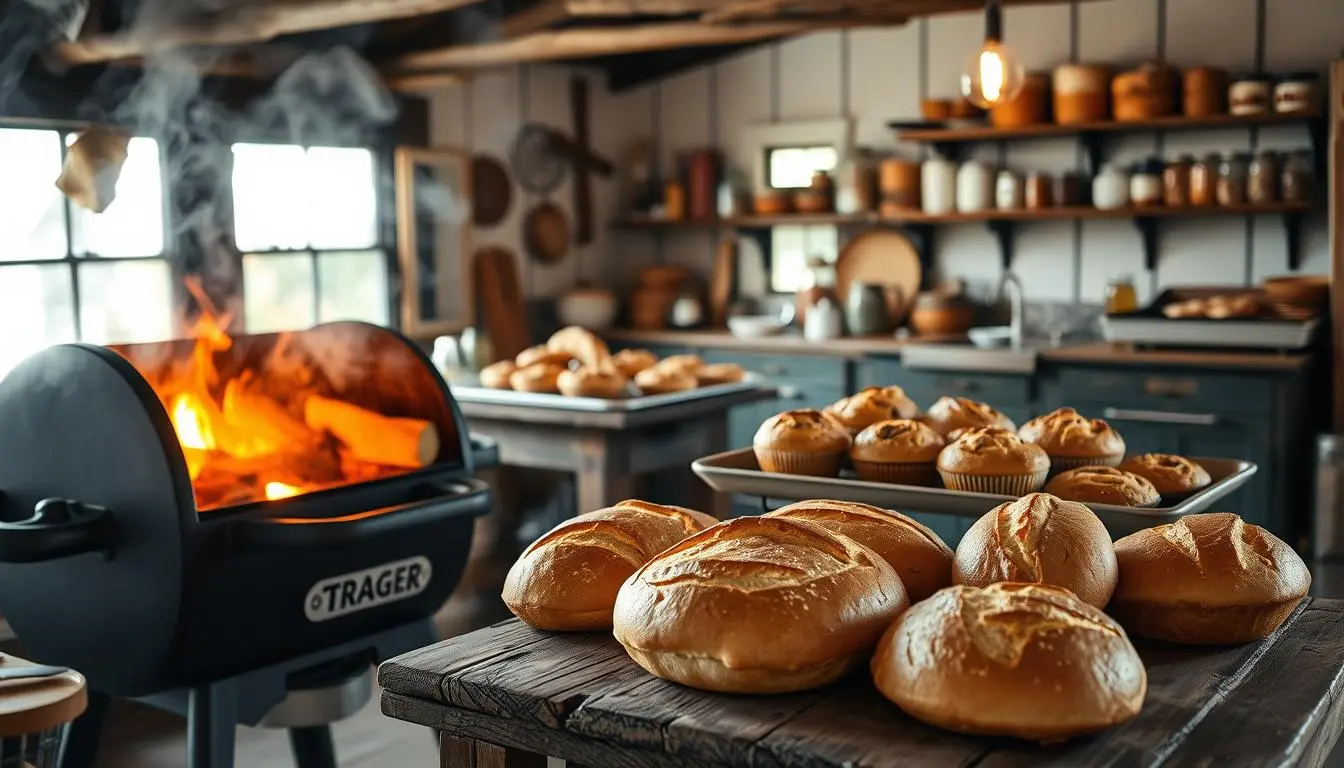
Dutch Oven Baking Magic
The Dutch oven method changes home bread baking. It creates a steam-rich environment like a professional bakery oven. Using a cast-iron Dutch oven gives you:
- Crisp, golden-brown crusts
- Consistent heat distribution
- Enhanced moisture retention
Creating the Perfect Steam Environment
Steam is key for a crackling crust on your bread. It helps the bread rise and gives it a shiny look. You can make steam by:
- Preheating a pan with water in the oven
- Spraying water directly onto oven walls
- Using a spray bottle during the first 15 minutes of baking
Temperature and Timing Insights
When baking with king arthur flour bread, precision is crucial. Aim for an oven temperature of 450-475°F. Use an instant-read thermometer to check the bread’s internal temperature—it should be 190-210°F when done. Listen for the hollow sound when tapping the bottom of your loaf—a true baker’s trick!
Storage and Serving Suggestions
Your freshly baked homemade bread needs the right care to stay tasty. Store it at room temperature in a paper bag or bread box. This lets air in and keeps moisture out. Avoid direct sunlight and heat to keep it fresh.
Freez the bread is a great way to keep it fresh longer. Wrap it in plastic wrap and then in a freezer-safe bag. Artisan bread can stay good in the freezer for up to three months. To refresh it, thaw at room temperature and then warm it in the oven for a few minutes.
Day-old bread is perfect for many dishes. Slice it and make croutons for salads or bruschetta. You can also use it for sandwiches, French toast, or breadcrumbs. A quick toast can make it crispy again, adding to your cooking.
Get creative with your artisan bread. Serve it with soups, as a pasta side, or in gourmet sandwiches. It’s great for any meal, adding a rustic touch and fresh flavor.
FAQ
What type of King Arthur flour is best for artisan bread?
King Arthur Bread Flour is perfect for artisan bread. It has 12.7% protein, which makes your bread strong and chewy. For a lighter loaf, try their Unbleached All-Purpose Flour. It works well in many bread recipes.
How long does it take to make homemade artisan bread?
Making artisan bread takes about 3-4 hours. This includes mixing, rising, shaping, and baking. Most of this time is spent waiting for the dough to rise and bake.
Can I make artisan bread without a Dutch oven?
Yes, you can! A Dutch oven isn’t necessary. Use a baking stone or a heavy baking sheet instead. For steam, place a pan of hot water on the bottom rack of your oven.
How should I store homemade artisan bread?
Store your bread in a paper bag or bread box at room temperature for 2-3 days. For longer storage, slice and freeze in an airtight bag for up to 3 months. To refresh day-old bread, spritz with water and warm in a 350°F oven for 5-10 minutes.
Can I add additional ingredients to my artisan bread?
Absolutely! Add herbs, seeds, nuts, dried fruits, or cheese to your bread. Fold them in during the final mixing stage. Popular mix-ins include rosemary, olives, sunflower seeds, and dried cranberries.
Is it necessary to use a kitchen scale for bread baking?
While not necessary, a kitchen scale is highly recommended. It provides precision, unlike volume measurements. This ensures consistent results and perfect bread texture every time.