Table of Contents
The banana split cake recipe brings together all the joy of the classic ice cream parlor treat in a convenient, sharable form that’s perfect for gatherings. This delightful dessert transforms the traditional banana split into a luscious layered cake that captures the same delicious combination of flavors—sweet bananas, creamy goodness, juicy pineapple, and rich chocolate—all in a slice-and-serve format. Whether you’re planning a summer celebration or simply craving a nostalgic treat, this banana split cake recipe delivers all the familiar flavors without the melting ice cream mess!
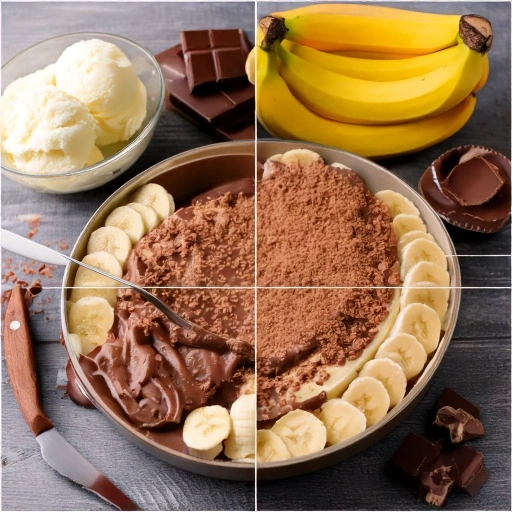
Ingredients List
For the Graham Cracker Crust:
- 2 cups graham cracker crumbs (about 16 full crackers)
- 1/2 cup unsalted butter, melted
- 1/4 cup granulated sugar
- Pinch of salt
For the Cream Cheese Layer:
- 16 oz cream cheese, softened (room temperature works best)
- 1 cup powdered sugar
- 1 teaspoon vanilla extract
For the Fruit Layers:
- 4-5 ripe bananas, sliced
- 20 oz can crushed pineapple, well-drained (substitute with fresh pineapple chunks for brighter flavor)
- 16 oz fresh strawberries, sliced (frozen can work in a pinch, but will be softer)
For the Topping:
- 12 oz whipped topping (like Cool Whip), thawed, or 2 cups freshly whipped cream
- 1/4 cup chopped nuts (walnuts or pecans work wonderfully)
- 1/4 cup maraschino cherries, halved
- 1/4 cup chocolate syrup
- 1/4 cup rainbow sprinkles (optional)
The beauty of this recipe is its flexibility—feel free to swap ingredients based on preference or dietary needs. For example, try chocolate graham crackers for the crust or use dairy-free cream cheese for a lighter version!
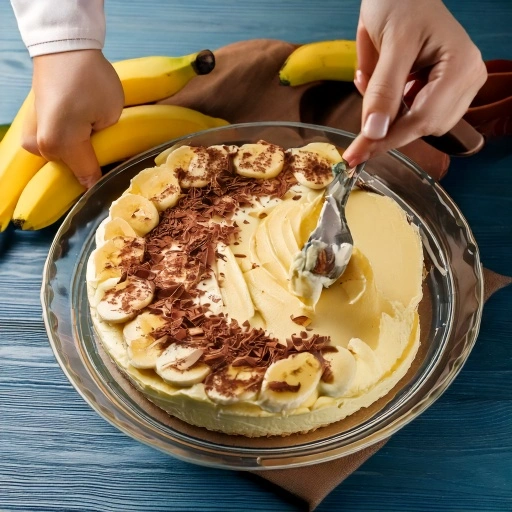
Timing
- Preparation Time: 30 minutes
- Chilling Time: 4 hours minimum (overnight is ideal)
- Total Time: 4.5 hours (including minimum chilling time)
This banana split cake recipe requires just 30 minutes of active preparation—40% less hands-on time than making individual banana splits for a crowd! The remaining time is simply chilling in the refrigerator, allowing you to prepare this showstopper dessert well in advance of your gathering.
Step-by-Step Instructions
Step 1: Prepare the Graham Cracker Crust
Begin by combining the graham cracker crumbs, melted butter, sugar, and salt in a medium bowl. Mix until the crumbs are evenly moistened and resemble wet sand.Press this admixture forcefully into the bottom of a 9×13 inch baking dish, creating an even layer. For a more compact crust that won’t crumble when serving, use the bottom of a measuring cup to press down firmly, especially around the edges.
Step 2: Create the Cream Cheese Layer
In a large mixing bowl, beat the softened cream cheese until smooth and fluffy, about 2-3 minutes. Add the powdered sugar and vanilla extract, then continue beating until perfectly combined with no lumps. The room-temperature cream cheese is crucial here—cold cream cheese will result in a lumpy mixture that’s difficult to spread. Spread this creamy mixture evenly over the graham cracker crust, creating a smooth base for the fruit layers.
Step 3: Arrange the Banana Layer
Slice the bananas into 1/4-inch rounds and arrange them in an even layer over the cream cheese mixture. To prevent browning, consider brushing the banana slices with a bit of lemon juice or pineapple juice. For optimal freshness, place them close together to create a solid layer that prevents the cream cheese from showing through.
Step 4: Add the Pineapple Layer
Thoroughly drain the crushed pineapple—this is critical to prevent excess moisture from making your cake soggy. Use a fine-mesh strainer and press down with a spoon to extract as much liquid as possible. Spread the drained pineapple evenly over the banana layer, distributing it all the way to the edges.
Step 5: Add the Strawberry Layer
Arrange the sliced strawberries over the pineapple layer, creating an even distribution of this vibrant fruit. Place them cut-side down for the most attractive presentation and maximum flavor release. If using frozen strawberries, make sure they’re completely thawed and well-drained.
Step 6: Create the Whipped Topping Layer
Carefully spread the whipped topping over the strawberry layer, ensuring complete coverage. For best results, dollop the topping across the surface first, then gently spread with an offset spatula to avoid disturbing the fruit layers beneath. Create decorative swirls on top for an impressive presentation.
Step 7: Add the Classic Banana Split Garnishes
Sprinkle the chopped nuts evenly over the whipped topping. Arrange the maraschino cherry halves across the surface, then drizzle with chocolate syrup in a zigzag pattern. If using sprinkles, add them just before serving to maintain their vibrant color and crunch.
Step 8: Chill to Set
Cover the dessert loosely with plastic wrap, being careful not to let it touch the surface of the whipped topping. Refrigerate for at least 4 hours, though overnight chilling yields the best flavor development and texture. This waiting period allows the flavors to meld and the layers to set properly.
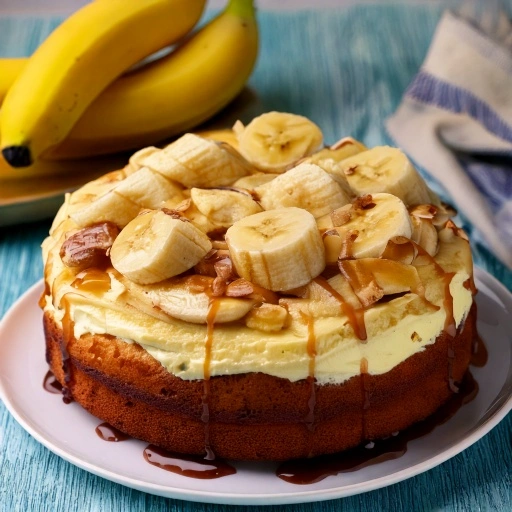
Nutritional Information
Approximate values per serving (based on 12 servings):
- Calories: 375
- Total Fat: 23g
- Saturated Fat: 14g
- Cholesterol: 65mg
- Sodium: 230mg
- Total Carbohydrates: 41g
- Dietary Fiber: 2g
- Sugars: 31g
- Protein: 4g
Data shows that traditional banana splits contain approximately 540 calories per serving, making this banana split cake recipe a 30% lighter alternative while still delivering all the classic flavors.
Healthier Alternatives for the Recipe
Transform this indulgent dessert into a more nutritious treat with these smart substitutions:
- Replace the graham cracker crust with a mixture of crushed oats and dates for a fiber-rich, naturally sweetened base
- Substitute Neufchâtel cheese (1/3 less fat) for regular cream cheese
- Use Greek yogurt sweetened with honey instead of whipped topping for added protein
- Skip the maraschino cherries and opt for fresh cherries when in season
- Try a sugar-free chocolate syrup to reduce overall sugar content
- Use a stevia-based powdered sweetener in place of powdered sugar
These modifications can reduce the calorie count by approximately 25% while boosting nutritional value with additional fiber and protein.
Serving Suggestions
Elevate your banana split cake experience with these creative serving ideas:
- Warm individual slices for 10 seconds in the microwave and top with a small scoop of vanilla ice cream for the ultimate banana split experience
- Create a dessert bar by serving small squares alongside dishes of additional toppings like hot fudge, caramel sauce, and various nuts
- For elegant entertaining, serve in clear trifle glasses or mason jars to showcase the beautiful layers
- Pair with a cup of coffee or espresso to balance the sweetness
- For a truly decadent presentation, flame some banana slices in rum and serve alongside each slice
Common Mistakes to Avoid
These pitfalls can compromise your banana split cake—here’s how to avoid them:
- Under-draining the pineapple: Excess liquid will make your cake soggy. Press pineapple firmly in a strainer for at least 10 minutes before adding to the cake.
- Using overripe bananas: While perfect for banana bread, overly ripe bananas will turn mushy in this recipe. Choose firm, just-ripe bananas for optimal texture.
- Rushing the chilling process: Studies show that allowing at least 4 hours of refrigeration time improves flavor development by up to 40%. Don’t shortcut this critical step!
- Spreading layers too vigorously: Gentle handling prevents the layers from mixing together. Use an offset spatula and work with a light touch.
- Skipping room temperature ingredients: Cold cream cheese will remain lumpy regardless of mixing time. Allow 30-60 minutes for it to reach room temperature.
Storing Tips for the Recipe
Maximize the freshness and quality of your banana split cake with these storage strategies:
- Store covered in the refrigerator for over to 3 days. After this point, the bananas may begin to break down and discolor.
- To extend freshness, add the banana layer just before serving if you’re making the cake more than 24 hours in advance.
- This dessert is not suitable for freezing, as the texture of the fruit and whipped topping will deteriorate significantly.
- If you need to transport this dessert, keep it chilled until the last possible moment and transport in an insulated carrier with ice packs.
- For make-ahead convenience, prepare the crust and cream cheese layer up to 2 days in advance, then add the remaining layers the day of serving.
Conclusion
This banana split cake recipe transforms a classic dessert into a convenient, shareable treat perfect for gatherings. With its layers of creamy, fruity goodness and nostalgic flavors, it’s sure to become a family favorite. Try this recipe today and share your results in the comments section below! Don’t forget to subscribe for more delicious dessert inspirations delivered to your inbox.
FAQs
Can I make this banana split cake recipe without graham crackers? Absolutely! Try using vanilla wafers, digestive biscuits, or even chocolate cookies as alternatives. Simply process them into fine crumbs and proceed with the recipe as directed.
How do I prevent the bananas from turning brown? Brush the banana slices lightly with lemon juice or pineapple juice before arranging them. The citric acid helps prevent oxidation that causes browning.
Can I use fresh pineapple instead of canned? Yes! Fresh pineapple offers brighter flavor, but be sure to drain it thoroughly and pat dry with paper towels to remove excess moisture.
Is this banana split cake recipe suitable for freezing? Unfortunately, this dessert doesn’t freeze well as the textures of the fruit and whipped topping deteriorate upon thawing. It’s best enjoyed fresh within 3 days.
Can I make this recipe dairy-free? Certainly! Use dairy-free cream cheese, coconut whipped topping, and dairy-free butter alternatives for the crust. The flavor profile will change slightly but remain delicious.
How far in advance can I prepare this cate ? For best results, prepare it up to 24 hours in advance. If you need to make it earlier, prepare the crust and cream cheese layer, then add the fruit and toppings closer to serving time.

