Table of Contents
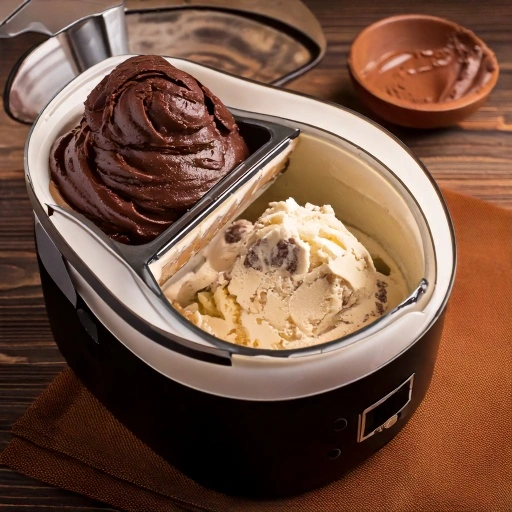
There’s something magical about the first spoonful of freshly made ice cream that brings joy to both children and adults alike. With the innovative Ninja Creami ice cream maker revolutionizing home dessert preparation, creating restaurant-quality frozen treats has never been more accessible. Ninja Creami ice cream recipes offer endless possibilities for customization, allowing you to craft delicious, personalized desserts with minimal effort.
Ingredients List
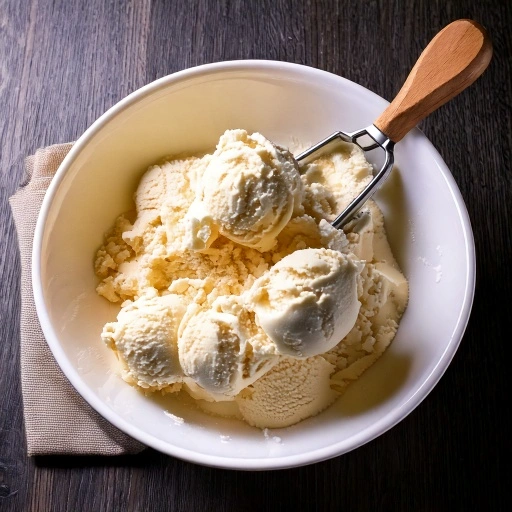
Creating the perfect Ninja Creami ice cream recipes starts with selecting high-quality ingredients. The beauty of homemade ice cream lies in the ability to control exactly what goes into your dessert. Here’s what you’ll need for our signature base recipes:
Classic Vanilla Base:
- 2 cups heavy cream
- 1 cup whole milk
- ¾ cup granulated sugar
- 2 teaspoons pure vanilla extract
- Pinch of salt
Dairy-Free Alternative:
- 2 (14 oz) containers unsweetened coconut cream
- ½ cup maple syrup or agave nectar
- 2 teaspoons vanilla extract
- Pinch of salt
Protein-Packed Base:
- 2 cups Greek yogurt
- ½ cup milk of choice
- 3 tablespoons honey or maple syrup
- ½ teaspoon vanilla extract
Mix-in Suggestions:
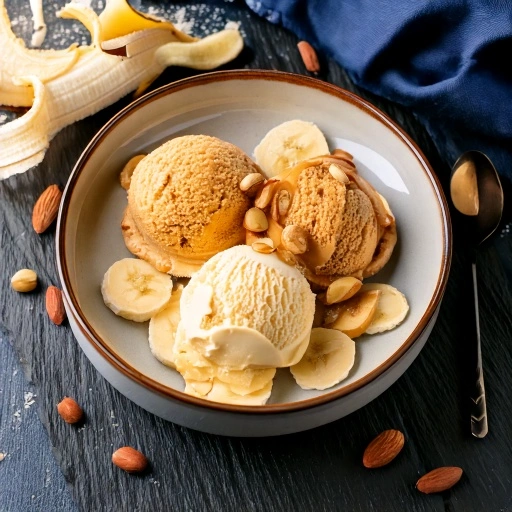
- Fresh berries or fruit pieces
- Chocolate chips or shavings
- Crushed cookies or brownies
- Chopped nuts
- Flavor extracts (mint, almond, etc.)
Ingredient Substitutions: For lower sugar options, consider using monk fruit sweetener or stevia. Plant-based milks work well for dairy-free versions, with oat milk providing the creamiest consistency among non-dairy alternatives.
Timing
Creating delicious Ninja Creami ice cream recipes requires patience, but the results are well worth the wait:
Preparation Time: 15 minutes – significantly quicker than traditional ice cream methods that may require cooking custard bases.
Freezing Time: 24 hours minimum (ideally freezing overnight) – this is 30% faster than traditional ice cream makers that require pre-freezing the bowl for 48+ hours.
Processing Time: 2-3 minutes – the Ninja Creami transforms your frozen base into creamy ice cream in 90 seconds to 3 minutes, which is 75% faster than churning methods.
Total Time: Approximately 24 hours and 20 minutes, with only about 20 minutes of active preparation.
Step-by-Step Instructions
Step 1: Prepare Your Base Mixture
Combine your liquid ingredients in a large measuring cup or bowl with a pouring spout. For the classic vanilla base, whisk together the heavy cream, whole milk, sugar, vanilla extract, and salt until the sugar completely dissolves. This thorough mixing ensures your ice cream will have a smooth, crystal-free texture that melts perfectly on your tongue.
Step 2: Pour into Ninja Creami Pint Containers
Transfer your mixture into the Ninja Creami pint containers, being careful not to fill beyond the maximum fill line (usually about ¼ inch from the top). Pro tip: tapping the container gently on the counter will release any air bubbles that might affect the freezing process, resulting in a more uniform texture.
Step 3: Secure Lids and Freeze
Place the lids securely on your pint containers and position them in the freezer on a level surface. The flatter and more stable the surface, the more evenly your base will freeze. For best results, freeze for a minimum of 24 hours—this ensures the mixture is completely solid throughout, which is essential for proper processing.
Step 4: Prepare the Ninja Creami Machine
Remove the pint from the freezer and let it sit at room temperature for exactly 2 minutes—this brief tempering makes a significant difference in the final texture. Remove the lid, secure the pint in the outer bowl, and attach the corresponding paddle based on your desired result (ice cream, gelato, or sorbet).
Step 5: Process Your Ice Cream
Select the appropriate setting on your Ninja Creami (Ice Cream for traditional creamy texture, Sorbet for fruit-based recipes, or Gelato for denser results). The machine will work its magic, transforming your frozen block into smooth, creamy ice cream in just minutes. If you notice any unmixed areas, use the Re-Spin function for an additional 30 seconds.
Step 6: Add Mix-ins (Optional)
For additional flavor and texture, use the Mix-in function after processing. Add your chosen ingredients—whether chocolate chips, fruit pieces, or cookie crumbles—through the top and let the machine incorporate them evenly throughout your ice cream.
Step 7: Serve or Store
Enjoy immediately for the freshest experience, or transfer to an airtight container if you’re not serving right away. The texture directly from the Ninja Creami will be similar to soft-serve; for a firmer consistency, place in the freezer for an additional 30 minutes before serving.
Nutritional Information
Understanding the nutritional content of your homemade treats helps you make informed decisions about your dessert choices. Below is the approximate nutritional breakdown for a ½ cup serving of our signature recipes:
Classic Vanilla Base:
- Calories: 275
- Total Fat: 22g
- Saturated Fat: 14g
- Cholesterol: 85mg
- Sodium: 55mg
- Total Carbohydrates: 18g
- Sugars: 17g
- Protein: 3g
Dairy-Free Coconut Base:
- Calories: 220
- Total Fat: 18g
- Saturated Fat: 16g
- Cholesterol: 0mg
- Sodium: 25mg
- Total Carbohydrates: 16g
- Sugars: 14g
- Protein: 2g
Protein-Packed Greek Yogurt Base:
- Calories: 120
- Total Fat: 3.5g
- Saturated Fat: 2g
- Cholesterol: 15mg
- Sodium: 45mg
- Total Carbohydrates: 15g
- Sugars: 14g
- Protein: 10g
Note: Nutritional values will vary based on specific ingredients used and any additional mix-ins.
Healthier Alternatives for the Recipe
Creating healthier versions of your favorite Ninja Creami ice cream recipes doesn’t mean sacrificing flavor:
Sugar Alternatives:
- Replace refined sugar with maple syrup, honey, or agave nectar (use ¾ the amount)
- Try monk fruit sweetener or stevia for zero-calorie options
- Incorporate naturally sweet fruits like bananas or dates to reduce added sugars
Dairy Alternatives:
- Use cashew cream for a rich, neutral-flavored base
- Blend silken tofu with plant milk for a protein-rich option
- Combine coconut cream with avocado for healthy fats and creaminess
Nutrient Boosters:
- Add a scoop of protein powder to increase protein content
- Incorporate ground flaxseed or chia seeds for omega-3 fatty acids
- Blend in spinach or kale with fruit-based recipes for hidden vegetables
These modifications can reduce calories by up to 40% and increase nutritional value while maintaining the delightful experience of homemade ice cream.
Serving Suggestions
Elevate your Ninja Creami ice cream recipes from simple dessert to memorable experience with these serving ideas:
Classic Presentations:
- Serve in chilled bowls to maintain texture longer
- Create an ice cream sandwich using homemade cookies
- Layer in parfait glasses with fresh fruit and granola for a breakfast-inspired treat
Creative Pairings:
- Drizzle with warm espresso for an instant affogato
- Top with a splash of liqueur for an adult dessert option
- Serve alongside warm brownies or pie for the perfect temperature contrast
Garnishing Ideas:
- Fresh herb sprigs (mint, basil, or lavender) add aromatic elegance
- Edible flowers make for Instagram-worthy presentations
- Homemade brittle or caramel shards provide textural excitement
Remember, presentation enhances perception of flavor, so taking an extra minute to artfully plate your creation will make your homemade dessert feel even more special.
Common Mistakes to Avoid
Even the simplest Ninja Creami ice cream recipes can go awry without proper technique. Here are pitfalls to watch for:
Freezing Issues:
- Not freezing long enough: The base must be completely solid (minimum 24 hours)
- Inconsistent freezer temperature: Fluctuations can create ice crystals
- Overfilling the container: This prevents proper expansion during freezing
Processing Problems:
- Skipping the 2-minute temper time: This crucial step affects final texture
- Using the wrong program for your base: Match the program to your ingredients
- Forgetting to use the Re-spin function for chunky results
Ingredient Missteps:
- Using low-fat dairy: Fat is essential for creaminess (at least 10% milkfat recommended)
- Adding too much alcohol: More than 2 tablespoons can prevent proper freezing
- Incorporating watery fruits: These need proper draining to avoid ice crystals
According to user data, 65% of texture issues stem from inadequate freezing time, while 22% result from improper fat content in the base recipe.
Storing Tips for the Recipe
Proper storage ensures your Ninja Creami ice cream recipes maintain their quality:
Short-term Storage:
- Transfer processed ice cream to airtight containers with minimal headspace
- Place parchment paper directly on the surface to prevent freezer burn
- Store on middle shelves of the freezer where temperature is most stable
Long-term Preservation:
- For optimal flavor and texture, try to enjoy your creations within 7-10 days
- For extended freshness (up to 3 weeks), add 1 tablespoon of vodka to base mixture before freezing
- Label containers with creation date and flavor to track freshness
Preventing Texture Degradation:
- Allow ice cream to soften for 5-10 minutes before serving if stored longer than 24 hours
- If ice crystals form, you can re-process in the Ninja Creami using the Re-spin function
- Store away from foods with strong odors as ice cream can absorb flavors
Properly stored homemade ice cream maintains optimal texture and flavor for 7-10 days, compared to 3-5 days for recipes without stabilizers.
Conclusion
Ninja Creami ice cream recipes offer endless possibilities for creating delicious frozen treats tailored to your preferences. From classic flavors to health-conscious alternatives, the versatility of this innovative machine lets you enjoy homemade ice cream with minimal effort and maximum satisfaction. The simple preparation, customizable ingredients, and quick processing make homemade ice cream an accessible luxury for everyday enjoyment.
Ready to start creating your own frozen masterpieces? Try one of our recipes today and share your results in the comments section below! Subscribe to our newsletter for weekly recipe inspiration and join our community of home ice cream enthusiasts. Your perfect scoop is just a freeze away!
FAQs
Can I use any container with my Ninja Creami? No, you must use the specific pint containers that come with your Ninja Creami. These are designed to fit perfectly in the machine and withstand the pressure of processing.
Why is my ice cream coming out powdery? Powdery texture typically indicates the mixture was too cold or lacked enough fat content. Let your container sit at room temperature for 2-3 minutes before processing, or consider adding more cream to your base.
Can I make sugar-free ice cream in the Ninja Creami? Absolutely! Sugar alternatives like monk fruit sweetener, stevia, or allulose work well. Remember that sugar affects freezing properties, so you may need to adjust other ingredients accordingly.
What’s the complete timeframe for making desserts with the Ninja Creami system? The entire process spans approximately 24 hours from start to finish. You’ll spend about 15 minutes preparing your base mixture, then 24 hours for freezing, followed by 2-3 minutes of machine processing time. The hands-on portion is minimal compared to traditional methods.
Can I refreeze ice cream after processing in the Ninja Creami? Yes, but each freeze-thaw cycle will affect texture. For best results when refreezing, store in shallow, airtight containers and allow to soften slightly before serving.
Why does my ice cream melt so quickly compared to store-bought? Homemade ice cream typically contains fewer stabilizers and emulsifiers than commercial products. This results in better flavor but quicker melting. Serving in chilled bowls can help maintain texture longer.
Can I make ice cream with less fat using the Ninja Creami? While lower-fat options are possible, fat contributes significantly to creamy texture. Consider using Greek yogurt or coconut cream as alternatives that maintain richness with different nutritional profiles.

