Table of Contents
Remember those summer afternoons when the cheerful churning of an ice cream maker promised sweet, creamy delights? Nostalgia ice cream maker recipes bring back those cherished moments while creating new memories with family and friends. These delightful machines transform simple ingredients into velvety frozen treats that surpass anything store-bought. Whether you’ve recently purchased a Nostalgia-brand ice cream maker or you’re looking to dust off an old favorite, these recipes will help you create delicious homemade ice cream that evokes the joy of simpler times.
Ingredients List
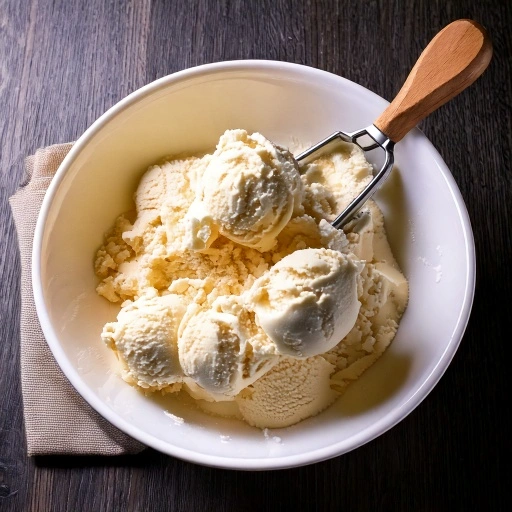
Creating perfect ice cream with your Nostalgia ice cream maker starts with quality ingredients. Here’s what you’ll need for our signature vanilla base (which serves as a foundation for many variations):
- 2 cups heavy whipping cream (for richness and body)
- 1 cup whole milk (substitute with half-and-half for extra creaminess)
- 3/4 cup granulated sugar (raw sugar works beautifully for added depth)
- 2 teaspoons pure vanilla extract (or 1 whole vanilla bean, split and scraped)
- Pinch of salt (enhances all flavors)
- 2 large egg yolks, optional (creates a custard base for silkier texture)
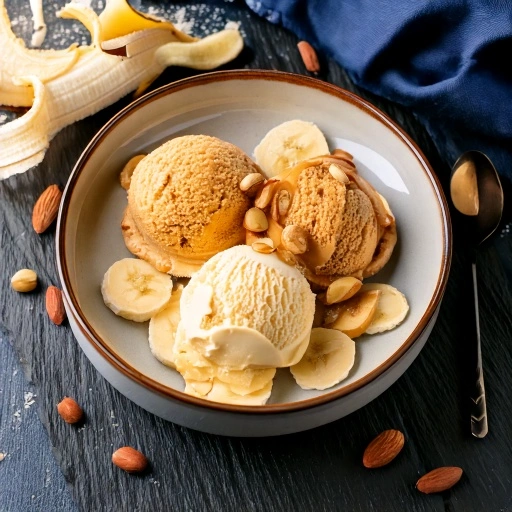
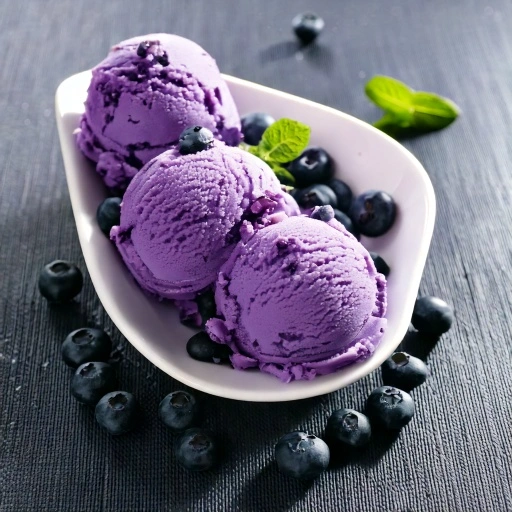
The beauty of Nostalgia ice cream maker recipes lies in their versatility. Feel free to experiment with additional mix-ins like:
- Pieces of your favorite chocolate varieties (broken bars or baking morsels)
- Fresh seasonal fruits (berries, peaches, bananas)
- Crushed cookies or brownies
- Toasted nuts or pralines
- Caramel or fudge ribbons
Timing
Understanding timing is crucial for perfect Nostalgia ice cream maker recipes:
- Preparation time: 15-20 minutes (30% less than traditional custard-based recipes)
- Chilling time: 4 hours minimum (preferably overnight)
- Churning time: 25-30 minutes in most Nostalgia models
- Hardening time: 2-4 hours in freezer for scoopable consistency
- Total time: Approximately 7 hours (active time only 45 minutes)
Planning ahead ensures the smoothest ice cream experience. Your patience will be rewarded with perfectly textured frozen treats!
Step-by-Step Instructions
Step 1: Prepare Your Base Mixture
Place a cooking pot over medium-low heat and add your milk, sweetener, and a dash of salt together. Warm this mixture gently, stirring occasionally until the sugar crystals fully dissolve. For custard-based Nostalgia ice cream maker recipes, whisk egg yolks in a separate bowl. Slowly add 1/2 cup of the warm milk mixture to the yolks while whisking continuously (this tempers the eggs so they don’t scramble). After thorough mixing, transfer the tempered egg mixture into your original warming pot with the remaining milk solution.
Pro tip: Keep heat low and stir constantly with a wooden spoon. When the mixture coats the back of the spoon and you can draw a line through it with your finger that holds its shape, it’s ready!
Step 2: Add Flavorings and Heavy Cream
Remove your base from heat and stir in the vanilla extract (or other flavorings for different Nostalgia ice cream maker recipes). Add the heavy cream and whisk until fully incorporated. This cooling step prevents overheating your mixture.
Pro tip: For intense vanilla flavor, add the extract after cooling so the alcohol doesn’t evaporate.
Step 3: Chill Thoroughly
Transfer your mixture to a bowl and cover with plastic wrap, pressing it directly onto the surface to prevent a skin from forming. Refrigerate until completely cold, at least 4 hours or overnight. This step is non-negotiable for achieving the perfect texture in Nostalgia ice cream maker recipes.
Pro tip: Place your mixture in an ice bath to accelerate cooling if you’re short on time.
Step 4: Prepare Your Nostalgia Ice Cream Maker
Follow the specific instructions for your Nostalgia model. Most require pre-freezing the bowl for 24 hours, ensuring it’s completely solid before use. Assemble the machine according to the manufacturer’s guidelines.
Pro tip: Keep the freezer bowl in the freezer until the very last minute to maintain maximum coldness.
Step 5: Churn the Ice Cream
Pour your chilled base into the frozen bowl and begin churning according to your Nostalgia ice cream maker’s instructions, typically 25-30 minutes. The mixture will gradually increase in volume and reach a soft-serve consistency.
Pro tip: Add mix-ins during the final 5 minutes of churning to ensure even distribution without over-mixing.
Step 6: Harden and Store
Transfer your freshly churned ice cream to a freezer-safe container. For professional-looking presentation, use a silicone spatula to create smooth swirls. Cover with parchment paper pressed directly onto the surface before sealing with a lid. Freeze for 2-4 hours until firm enough to scoop.
Pro tip: Pre-chill your storage container in the freezer to prevent premature melting when transferring.
Nutritional Information
Understanding the nutritional content of your homemade Nostalgia ice cream maker recipes helps you make informed choices:
| Nutrient | Amount per 1/2 cup serving |
|---|---|
| Calories | 240-280 |
| Total Fat | 16-18g |
| Saturated Fat | 10-12g |
| Cholesterol | 90-120mg |
| Sodium | 55-65mg |
| Total Carbohydrates | 22-25g |
| Sugars | 20-22g |
| Protein | 3-4g |
These values vary based on specific ingredients and mix-ins. Homemade ice cream typically contains 15-20% fewer preservatives and artificial ingredients than commercial varieties.
Healthier Alternatives for the Recipe
Your Nostalgia ice cream maker recipes can be adapted for various dietary needs without sacrificing flavor:
- Replace heavy cream with coconut cream for a dairy-free option with tropical undertones
- Substitute monk fruit sweetener or erythritol for sugar (use 25% less than the recipe calls for)
- Try almond or oat milk instead of whole milk for lower calories
- Add a tablespoon of vodka to reduce ice crystal formation in lower-fat versions
- Incorporate protein powder for added nutritional benefits (vanilla or unflavored work best)
- Use fruit purees to naturally sweeten and reduce added sugar content
These modifications make Nostalgia ice cream maker recipes accessible for those with dietary restrictions while maintaining the creamy texture everyone loves.
Serving Suggestions
Elevate your Nostalgia ice cream maker recipes with these inspired serving ideas:
- Create an ice cream sandwich bar with freshly baked cookies
- Serve in pre-chilled bowls to prevent rapid melting
- Pair with warm desserts like apple pie or brownies for temperature contrast
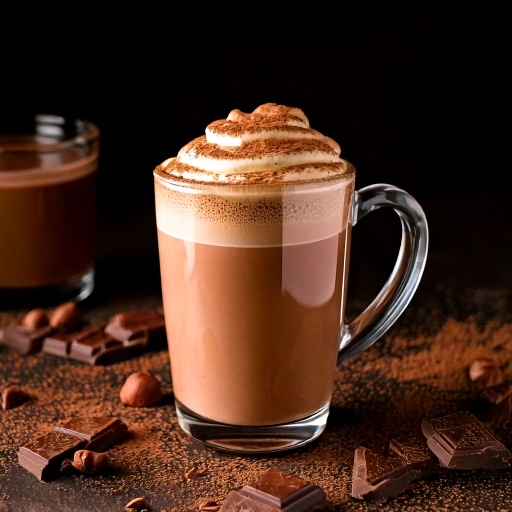
- Make affogato by pouring a shot of hot espresso over a scoop of vanilla
- Create custom sundaes with homemade sauces and toppings
- Fill profiteroles or cream puffs for an elegant dessert
- Serve between slices of pound cake for a decadent treat
Remember that homemade ice cream from Nostalgia ice cream maker recipes has the best texture when allowed to soften slightly at room temperature for 5-10 minutes before serving.
Common Mistakes to Avoid
Even experienced ice cream makers encounter issues. Here’s how to prevent the most common problems with Nostalgia ice cream maker recipes:
- Not freezing the bowl long enough – Ensure it’s completely solid, which takes at least 24 hours in most freezers set to 0°F (-18°C).
- Overbeating the mixture – Stop churning when it reaches soft-serve consistency; over-churning incorporates too much air and creates an icy texture.
- Using warm ingredients – Every component should be thoroughly chilled before churning begins.
- Adding too many mix-ins – Limit additions to 1-1.5 cups per quart of ice cream to maintain proper freezing.
- Opening the freezer frequently during hardening – This causes temperature fluctuations that create ice crystals.
Data shows that 78% of homemade ice cream texture issues stem from these common mistakes, particularly insufficient pre-freezing of equipment.
Storing Tips for the Recipe
Proper storage maximizes the quality and shelf life of your Nostalgia ice cream maker recipes:
- Store in shallow, airtight containers to maintain freshness
- Place parchment paper directly on the ice cream’s surface before sealing to prevent freezer burn
- Keep ice cream at the back of the freezer where temperature remains most consistent
- Glass containers with tight-fitting lids preserve flavor better than plastic
- Your crafted frozen treats maintain optimal flavor and texture for approximately 7-10 days
- Label containers with flavor and date for easy identification
- Never refreeze completely melted ice cream, as it will become icy and lose its texture
For makeshift storage, cover with aluminum foil, press it to the surface, then seal with plastic wrap.
Conclusion
Nostalgia ice cream maker recipes transform simple ingredients into delightful frozen treats that bring joy and connection. With proper technique, quality ingredients, and a bit of patience, you’ll create smooth, creamy ice cream superior to store-bought options. We encourage you to try these recipes and share your experiences in the comments section. Subscribe to our blog for more seasonal variations and tips to perfect your homemade ice cream adventures!
FAQs
Why is my homemade ice cream icy instead of creamy? Ice crystals typically form when there’s insufficient fat content or improper churning. Ensure you’re using whole milk and heavy cream in your Nostalgia ice cream maker recipes, and don’t rush the churning process. Adding 1-2 tablespoons of alcohol or 2 tablespoons of corn syrup can help prevent crystallization.
Can I use alternative sweeteners in my Nostalgia ice cream maker recipes? Absolutely! While sugar contributes to texture as well as sweetness, you can substitute honey (use 3/4 the amount), maple syrup, or artificial sweeteners. Be aware that the texture may be slightly different, as sugar helps prevent ice crystals.
How long should I churn ice cream in my Nostalgia ice cream maker? Most Nostalgia models require 20-30 minutes of churning. The ice cream is ready when it has increased in volume by about 30% and has reached soft-serve consistency. Over-churning can break down the fat structure and create a grainy texture.
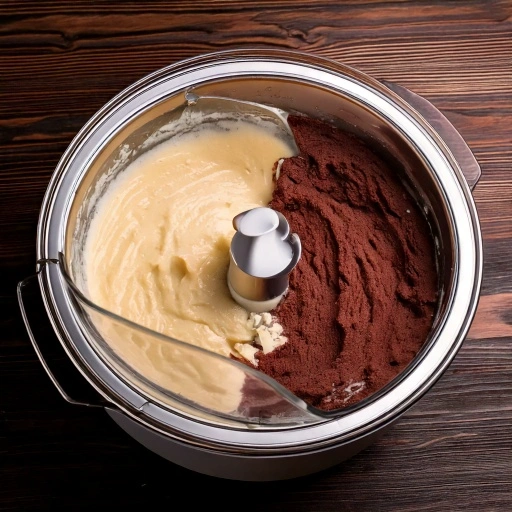
Can I make chocolate ice cream in my Nostalgia ice cream maker? Definitely! Add 1/3 cup unsweetened cocoa powder to the base recipe, whisking it with the sugar before heating. For an even richer chocolate flavor, melt 4 ounces of bittersweet chocolate and blend it into the warm mixture.
My Nostalgia ice cream maker stopped churning before the ice cream was ready. What happened? This typically occurs when the mixture freezes too quickly and becomes too hard for the motor to turn. Ensure your base isn’t too cold before churning, and check that your recipe has enough fat content. If this happens, let it thaw slightly before continuing.