Table of Contents
There’s something magical about the aroma of freshly baked sugar cookies wafting through your home. But what if you’re out of eggs or have an egg allergy? This eggless sugar cookie recipe is your perfect solution! I discovered this recipe when my nephew with egg allergies visited for the holidays, and I was determined to create a treat everyone could enjoy. These cookies maintain that classic buttery sweetness and soft texture you love, without a single egg in sight.
Ingredients List
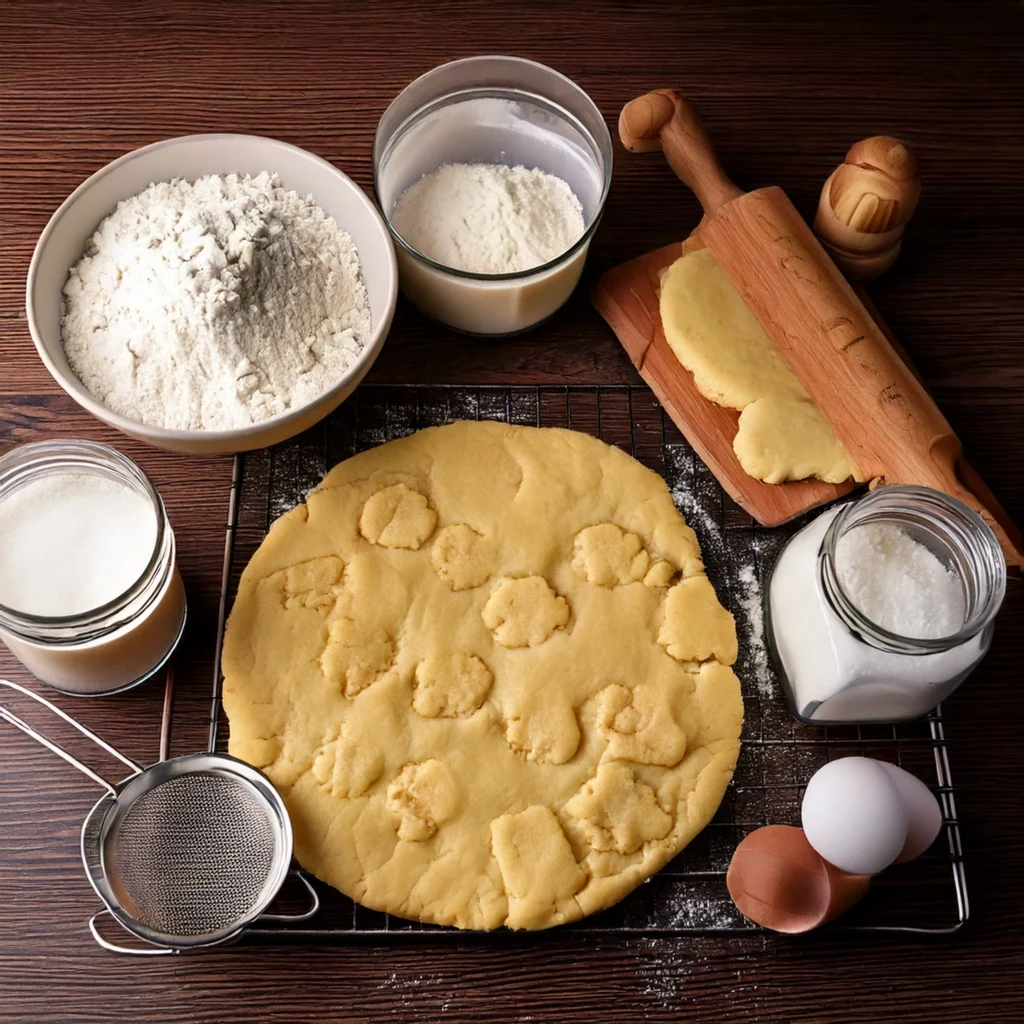
For these melt-in-your-mouth eggless sugar cookies, you’ll need:
- 2 and 1/2 cups unbleached all-purpose flour (with additional flour for dusting your work surface)
- 1 cup room temperature unsalted butter
- 1 cup granulated sugar
- 2 tablespoons milk (dairy or plant-based)
- 1 tablespoon yogurt (plain Greek yogurt works best)
- 1½ teaspoons pure vanilla extract
- ½ teaspoon almond extract (optional, but adds wonderful flavor)
- 1 teaspoon baking powder
- ½ teaspoon salt
For decorating (optional):
- 2 cups powdered sugar
- 2-3 tablespoons milk
- ½ teaspoon vanilla extract
- Food coloring of choice
- Sprinkles or sanding sugar
The yogurt and milk combination creates the perfect binding agent to replace eggs while maintaining moisture. For those with dairy restrictions, you can substitute with plant-based butter, coconut yogurt, and almond milk with nearly identical results.
Timing
- Preparation time: 20 minutes
- Chilling time: 1 hour (essential for perfect texture)
- Baking time: 8-10 minutes
- Total time: 1 hour 30 minutes
Compared to traditional egg-based recipes, this eggless sugar cookie recipe requires approximately the same amount of time, but eliminates the risk of salmonella from raw eggs—making it 100% safe to taste the dough along the way (which we all secretly do!).
Step-by-Step Instructions
Step 1: Prepare Your Dough
In a large mixing bowl, cream together the softened butter and sugar using an electric mixer for about 3-4 minutes until light and fluffy. Don’t rush this step—proper creaming incorporates air into the dough, creating that perfect cookie texture. You’ll notice the mixture changing from yellow to a lighter, almost white color when it’s ready.
Step 2: Add Wet Ingredients
Add the milk, yogurt, vanilla extract, and almond extract (if using) to the butter-sugar mixture. Beat on medium speed until completely incorporated and smooth. The yogurt is your secret weapon here—it provides the binding properties typically offered by eggs. Make sure there are no lumps of yogurt visible in the mixture.
Step 3: Combine Dry Ingredients
Mix the flour, baking powder, and salt in a separate mixing bowl using a fork or whisk. This even distribution ensures your cookies will rise uniformly and have consistent flavor throughout. For extra-light cookies, consider sifting these dry ingredients together.
Step 4: Mix Everything Together
Gradually add the dry ingredients to the wet mixture, about one-third at a time, mixing on low speed between additions. Mix just until you no longer see streaks of flour—stopping at this point keeps your cookies tender. Excessive mixing can make your cookies tough by developing too much gluten.
Step 5: Chill the Dough
Form the dough into a disc shape, wrap it in plastic wrap, and refrigerate for at least 1 hour. This crucial chilling step firms up the butter, preventing cookies from spreading too much during baking and enhancing their flavor. For best results, you can chill overnight to let the flavors meld.
Step 6: Roll and Cut
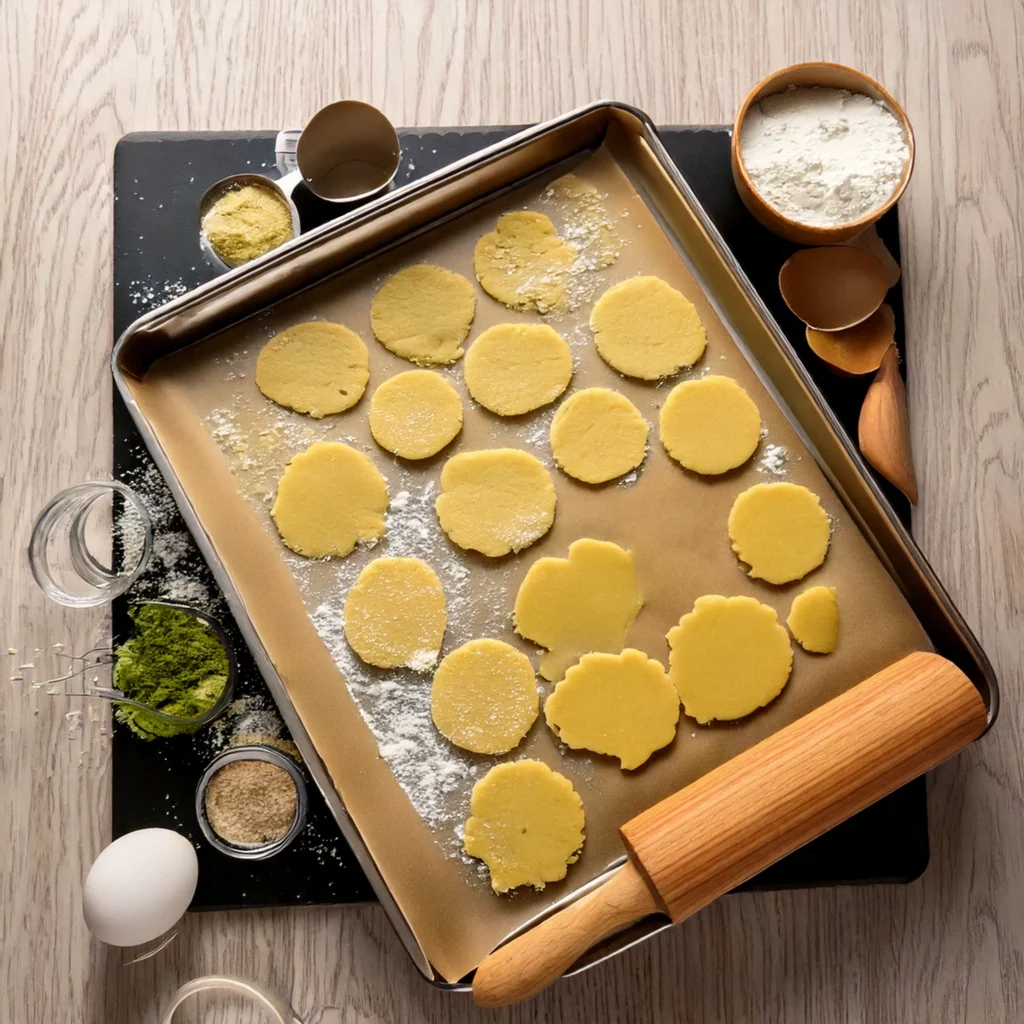
Set your oven to 350°F (175°C) and prepare your cookie sheets with a layer of parchment. Dust your countertop with a light coating of flour, then roll the chilled dough until it’s approximately 1/4-inch in thickness. Cut into desired shapes using cookie cutters. Re-roll scraps no more than twice to avoid tough cookies.
Step 7: Bake to Perfection
Place the cut cookies on the prepared baking sheets, spacing them about 1½ inches apart. Bake for 8-10 minutes, or until the edges are just barely beginning to turn golden. Don’t wait for the cookies to brown—they’ll continue cooking on the hot baking sheet after removal from the oven.
Step 8: Cool Completely
Allow the cookies to rest on the baking sheet for 5 minutes before transferring to a wire rack to cool completely. This resting period allows the cookies to set up properly, preventing breakage when moved.
Step 9: Decorate (Optional)
For icing, whisk together powdered sugar, milk, and vanilla extract until smooth. Divide into separate bowls and add food coloring as desired. Decorate cooled cookies with icing, sprinkles, or sanding sugar. Let the icing harden completely before storing.

Nutritional Information
Per cookie (approximately 3-inch diameter, without icing):
- Calories: 120
- Total Fat: 6g
- Saturated Fat: 3.5g
- Cholesterol: 15mg
- Sodium: 50mg
- Total Carbohydrates: 16g
- Dietary Fiber: 0g
- Sugars: 8g
- Protein: 1g
These cookies contain approximately 25% less cholesterol than traditional sugar cookies due to the absence of eggs, making them a slightly heart-healthier option while maintaining the classic taste.
Healthier Alternatives for the Recipe
Looking to make these eggless sugar cookies even more nutritious? Try these modifications:
- Replace half the all-purpose flour with whole wheat pastry flour for added fiber
- Reduce sugar to ¾ cup and add ¼ teaspoon of stevia for sweetness
- Use coconut oil instead of butter for different healthy fats (though this will change the flavor profile slightly)
- Add lemon zest or cinnamon for flavor enhancement without additional calories
- For gluten-free needs, substitute a 1:1 gluten-free flour blend with ½ teaspoon xanthan gum
These substitutions maintain the integrity of the cookie while boosting nutritional value and accommodating various dietary needs.
Serving Suggestions
Elevate your eggless sugar cookies with these creative serving ideas:
- Create a DIY cookie sandwich by spreading a thin layer of jam between two cookies
- Serve alongside a scoop of vanilla bean ice cream for a simple yet elegant dessert
- Pair with hot chocolate in winter or iced coffee in summer for the perfect sweet companion
- Arrange on a platter with fresh berries and mint leaves for a beautiful dessert display
- Package in clear cellophane bags tied with ribbon for homemade gifts
For children’s parties, set up a decorating station with various icings and toppings so little ones can personalize their own cookies—all without worrying about raw eggs!
Common Mistakes to Avoid
Even the simplest recipes have potential pitfalls. Here’s how to avoid them:
- Skipping the chilling step: This results in cookies that spread too much and lose their shape
- Overmixing the dough: This develops gluten and makes cookies tough; mix just until ingredients are combined
- Rolling dough too thin: Cookies may burn or become too crisp; aim for ¼-inch thickness
- Using cold butter: Room temperature butter is essential for proper creaming with sugar
- Opening the oven door too often: This causes temperature fluctuations that affect baking
- Removing cookies too soon from the baking sheet: They need time to set before transferring
Data shows that maintaining a consistent oven temperature is responsible for up to 80% of sugar cookie success, so invest in an oven thermometer if you bake frequently.
Storing Tips for the Recipe
Maximize freshness and convenience with these storage strategies:
- Unfrosted cookies: Store in an airtight container at room temperature with parchment paper between layers for up to 1 week
- Frosted cookies: Store in a single layer in an airtight container for 3-4 days
- Freezing baked cookies: Place cooled cookies in freezer bags, separating layers with parchment paper; they’ll keep for up to 3 months
- Freezing cookie dough: Wrap dough disc tightly in plastic wrap, then aluminum foil; freeze for up to 2 months
- Make-ahead tip: Prepare and cut out cookie shapes, then freeze them on a baking sheet before transferring to storage containers; bake directly from frozen, adding 1-2 minutes to baking time
The absence of eggs in this recipe actually improves freeze-thaw stability, giving you more consistent results when freezing and defrosting.
Conclusion
This eggless sugar cookie recipe proves that dietary restrictions never need to limit baking joy. With simple ingredients, straightforward techniques, and endless decorating possibilities, these cookies offer the perfect balance of simplicity and satisfaction. They’re tender, sweet, and completely egg-free!
Have you tried this eggless sugar cookie recipe? We’d love to see your creations! Share your photos and feedback in the comments section below, or tag us on social media. Don’t forget to subscribe to our blog for more allergen-friendly recipes delivered straight to your inbox!
FAQs
Why did my eggless sugar cookies spread too much?
The most common reason is not chilling the dough long enough. Make sure to refrigerate for at least one hour, or pop the cut-out cookies into the freezer for 10 minutes before baking.
Can I make this recipe vegan?
Absolutely! Simply substitute the butter with a plant-based alternative, and use plant-based milk and yogurt. The results are nearly identical to the original recipe.
How can I tell when my cookies are perfectly baked?
The best indicator is a slight color change around the edges while the centers remain pale. They should appear set but not browned. The cookies will continue to solidify as they cool on the baking sheet.
Is it possible to make these cookies without an electric mixer?
Definitely! While electric mixers make the job easier, you can use a wooden spoon and some elbow grease. Ensure your butter is very soft (but not melted) and be prepared for a good arm workout while creaming it with the sugar.
My cookie dough seems too sticky. What should I do?
Add flour 1 tablespoon at a time until the dough reaches a workable consistency. Humidity and flour variations can affect dough texture, so minor adjustments are sometimes necessary.
What’s the best way to transport these cookies for a party?
For unfrosted cookies, stack them with parchment paper between layers in an airtight container. For frosted cookies, place them in a single layer in a shallow container with a tight-fitting lid. Using a container with minimal extra space will prevent shifting during transport.


