Table of Contents
Have you ever craved freshly baked sourdough bread but didn’t plan ahead? I’ve been there too. The aroma of a crusty same day sourdough bread recipe filling your kitchen doesn’t have to be a distant dream requiring days of preparation. As someone who’s struggled with the long fermentation times traditional sourdough demands, I’m thrilled to share this game-changing recipe that delivers authentic sourdough flavor and texture in just hours, not days.

Ingredients List
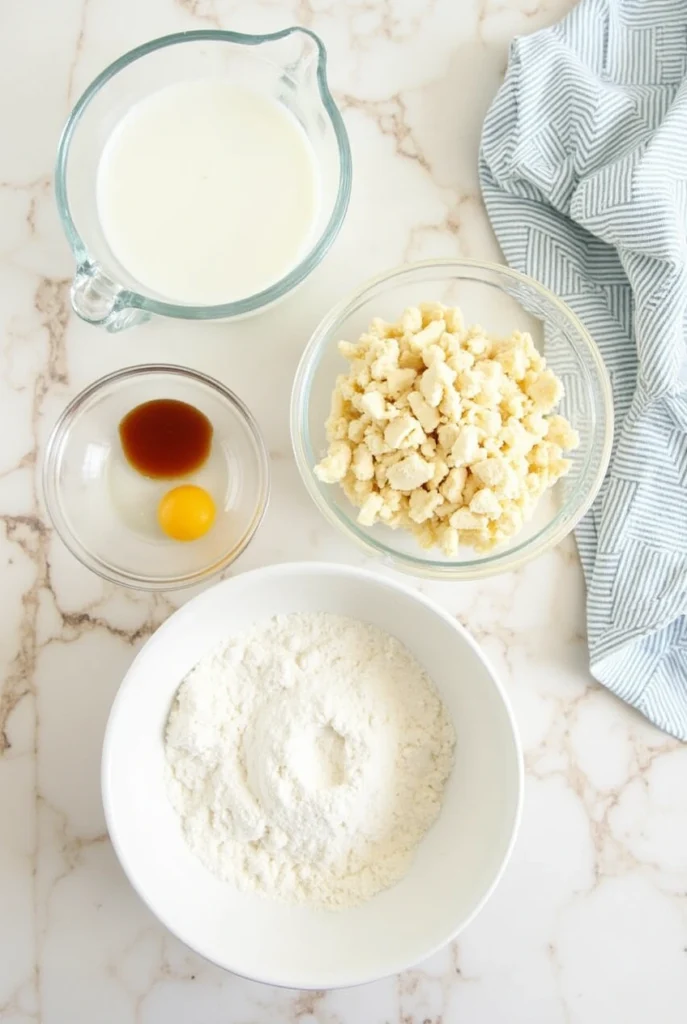
Creating this expedited sourdough bread requires simple ingredients, but each plays a crucial role in achieving that authentic sourdough character without the extended fermentation:
- 500g all-purpose flour (King Arthur recommended for consistent results)
- 100g active sourdough starter (at peak activity)
- 10g fine sea salt
- 350ml warm water (approximately 95°F/35°C)
- 2 tsp instant yeast (the secret ingredient for same-day results)
- 1 tbsp honey or maple syrup (helps accelerate fermentation)
- 1 tbsp olive oil (optional, creates a softer crumb)
- Rice flour for dusting (creates a non-stick surface for your dough)
Substitution options:
- Bread flour instead of all-purpose for extra chewiness
- Brown sugar or agave nectar instead of honey
- Avocado oil instead of olive oil
- Cornmeal instead of rice flour for dusting

Timing
This same day sourdough bread recipe transforms the traditional multi-day process into an achievable single-day project:
- Preparation time: 30 minutes active work
- Rising time: 3-4 hours (75% less than traditional methods)
- Baking time: 45 minutes
- Total time: Approximately 5 hours from start to finish
You’ll enjoy fresh sourdough bread by dinnertime, even if you start after breakfast—a remarkable improvement over the typical 24-36 hour process most recipes require.
Step-by-Step Instructions
Step 1: Activate Your Starter and Yeast
Start with a vibrant, fully active sourdough starter—look for plenty of bubbles and a pleasant yeasty aroma. Combine your lively starter with the warm water and honey in a large mixing bowl, then sprinkle the instant yeast over this mixture. Allow it to rest for 10 minutes until foamy. This strategic combination of starter and commercial yeast creates the perfect balance of quick rise and complex flavor.
Step 2: Form the Initial Dough
Add the flour gradually to your liquid mixture, stirring with a wooden spoon until a shaggy dough forms. The texture should be slightly sticky but manageable. If it feels too dry, add water a tablespoon at a time; if too wet, incorporate small amounts of flour until the consistency is right.
Step 3: Add Salt and First Fold
Sprinkle salt evenly over your dough and use the stretch-and-fold technique to incorporate it. Take one portion of the dough edge, pull it outward, then fold it back toward the center. Rotate the bowl 90 degrees and repeat until you’ve completed a full circle. This develops gluten without traditional kneading.
Step 4: Bulk Fermentation with Folds
Cover your bowl with a damp towel and place it in a warm spot (around 75-80°F is ideal). Perform stretch-and-fold sessions every 30 minutes for the next 2 hours. You’ll notice the dough becoming increasingly elastic and smooth with each session—this is gluten development happening before your eyes!
Step 5: Shape Your Loaf
After the bulk fermentation, gently turn your dough onto a lightly floured surface. Being careful not to deflate the precious air bubbles, shape it into a tight ball by pulling the edges toward the center, creating surface tension. This tension is what gives your loaf its distinctive round shape and helps it rise upward rather than outward.
Step 6: Final Rise
Place your shaped dough into a floured proofing basket or a bowl lined with a well-floured kitchen towel, seam side up. Cover and let it rise for 1-2 hours, or until the dough has noticeably increased in size and feels airy when gently poked—your finger indentation should slowly spring back.
Step 7: Preheat and Prepare for Baking
About 45 minutes before baking, place your Dutch oven (with lid) in the oven and preheat to 450°F (230°C). The preheated Dutch oven creates steam that’s essential for achieving that crackly sourdough crust we all crave.
Step 8: Score and Bake
When ready to bake, carefully turn your dough onto a piece of parchment paper. Score the top with a sharp knife or bread lame—this isn’t just decorative; it allows for controlled expansion during baking. Using the parchment paper as a sling, lower your dough into the screaming-hot Dutch oven, cover with the lid, and bake for 30 minutes.
Step 9: Finish Baking
Remove the lid and continue baking for another 15 minutes until the crust develops a deep golden-brown color. The internal temperature should reach approximately 205-210°F (96-99°C) when measured with an instant-read thermometer.
Step 10: Cool Properly
Though it’s tempting to slice into your warm loaf immediately, exercise patience and allow it to cool on a wire rack for at least 1 hour. This cooling period is when the starches set and the flavor develops fully. Cutting too soon results in a gummy texture that doesn’t do justice to your hard work.

Nutritional Information
This same day sourdough bread recipe offers nutritional benefits that many store-bought breads lack:
| Nutrient | Amount per serving (1 slice, approx. 50g) |
|---|---|
| Calories | 120 |
| Protein | 4g |
| Carbohydrates | 23g |
| Fiber | 1.2g |
| Sugars | 0.5g |
| Fat | 1g |
| Sodium | 195mg |
• Contains beneficial probiotics from the sourdough fermentation process • Lower glycemic index than regular yeast bread • More bioavailable minerals due to the fermentation process • Naturally longer shelf life without preservatives
Healthier Alternatives for the Recipe
Customize this same day sourdough bread recipe to suit various dietary needs:
• For whole grain goodness: Replace 50% of the all-purpose flour with whole wheat, spelt, or rye flour. Increase water by approximately 25ml to accommodate the higher absorption rate of whole grains.
• For lower carb version: Substitute up to 20% of the flour with almond or coconut flour, but be prepared to adjust water accordingly as these flours behave differently.
• For reduced sodium: Cut the salt to 5g without significantly affecting the flavor profile or fermentation process.
• For vegan option: Replace honey with maple syrup or agave nectar.
• For extra fiber: Add 2 tablespoons of flaxseed or chia seeds to the dough during the initial mix.
These modifications maintain the integrity of this quick-process bread while enhancing its nutritional profile.
Serving Suggestions
Transform your fresh same day sourdough bread into a memorable meal:
• Create the ultimate avocado toast by topping thick slices with smashed avocado, poached eggs, and red pepper flakes.
• Pair with homemade tomato soup for a comforting lunch that balances the tangy notes of both the bread and soup.
• Toast and serve alongside a cheese board featuring aged cheddar, brie, and fig jam for an impressive appetizer.
• Use slightly stale bread to create panzanella salad with fresh tomatoes, basil, and a vinaigrette dressing.
• Make extraordinary grilled cheese sandwiches—the slight tanginess of the sourdough complements the richness of melted cheese perfectly.
For breakfast, try butter and honey, allowing the warm bread to slightly melt both for a simple yet divine experience.
Common Mistakes to Avoid
Even with this accelerated same day sourdough bread recipe, certain pitfalls can affect your results:
• Using inactive starter: Verify your starter’s readiness by checking for a doubling in volume and a frothy, bubbling texture before beginning your bread.
• Overworking the dough: Excessive handling degrades the gluten structure and results in dense bread. The stretch-and-fold technique provides sufficient strength without overmanipulation.
• Incorrect water temperature: Too cool won’t activate the yeast properly; too hot will kill it. Aim for 95°F (35°C)—warm to the touch but not hot.
• Rushing the proof: While this is a quicker method, the final rise still needs adequate time. Look for visual cues rather than strictly following the clock.
• Insufficient preheating: A properly preheated Dutch oven is non-negotiable for creating steam and achieving optimal oven spring.
• Opening the oven too early: Resist the urge to peek during the initial covered bake, as this releases essential steam.
According to a survey of home bakers, 65% report underproofing as their most common error, followed by improper scoring at 42%.
Storing Tips for the Recipe
Maximize the lifespan of your same day sourdough bread:
• Allow the bread to cool completely before storing (minimum 2 hours) to prevent condensation that leads to mold.
• Store cut-side down on a cutting board or wrapped in a clean kitchen towel for the first 24 hours to maintain crust integrity.
• For longer storage (2-3 days), keep in a paper bag at room temperature, which preserves the crust better than plastic.
• For extended freshness, store in a bread box, which maintains the ideal humidity level.
• To freeze, wrap cooled bread tightly in plastic wrap, then aluminum foil, and place in a freezer bag. Freeze for up to 3 months.
• Revive day-old bread by lightly spritzing with water and heating in a 350°F oven for 5-10 minutes, restoring that fresh-baked quality.
Conclusion
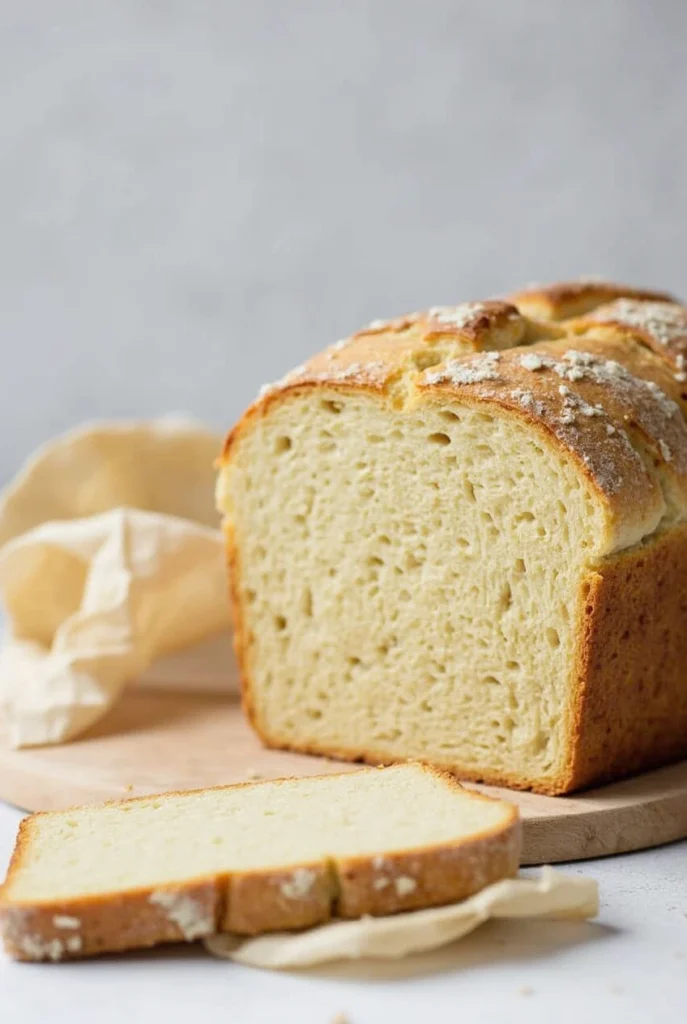
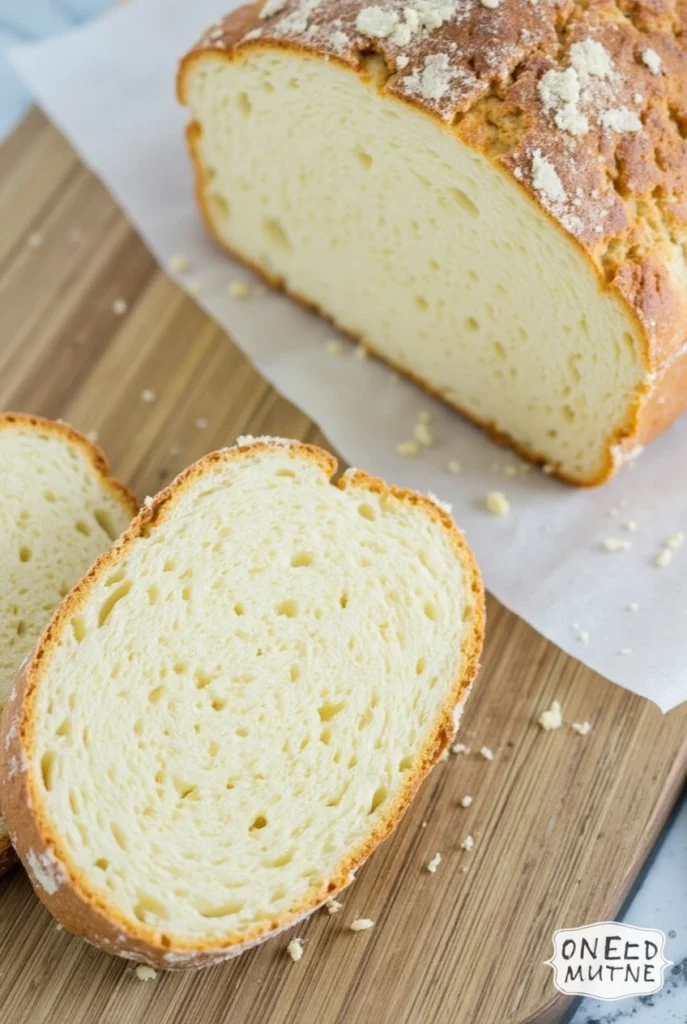
This same day sourdough bread recipe revolutionizes homemade bread baking by delivering authentic flavor and texture without the traditional wait. By combining active starter with instant yeast, you’ve discovered the secret to fitting artisanal bread into your busy lifestyle. The crisp crust, tender crumb, and distinctive tang will make this your go-to recipe when time is limited.
We’d love to see your baking creations! Drop a comment below with your experience and join our community of bakers. Don’t forget to subscribe for more innovative, time-saving recipes delivered straight to your inbox!
FAQs
Can I really make proper sourdough bread in one day? Yes! While traditional sourdough relies solely on wild yeast, this hybrid method uses both sourdough starter and commercial yeast to accelerate fermentation while maintaining complex flavor development.
What if I don’t have a Dutch oven? A Dutch oven creates the ideal environment, but alternatives include a preheated pizza stone with a large metal bowl as a cover, or a heavy baking sheet with an oven-safe pot inverted over the dough.
Can I use discard instead of active starter for this same day sourdough bread recipe? For best results, use active, fed starter. Discard lacks the rising power needed for this accelerated timeline, though the commercial yeast helps compensate somewhat.
Why is my bread dense instead of airy? Dense bread usually results from underproofing, insufficient gluten development, or deflating the dough during shaping. Ensure your dough increases in volume noticeably during the final rise.
How can I tell if my dough has proofed sufficiently? Use the gentle finger test—lightly press about ½ inch into the dough with a floured fingertip. Properly proofed dough will slowly fill the indentation partially but not completely. If the dough bounces back completely right away, it requires additional proofing time.
Can I add mix-ins like herbs or cheese to this recipe? Absolutely! Add them during the second set of stretch-and-folds to ensure even distribution without disrupting initial gluten development. Aim for no more than 1 cup total of add-ins.


